I assembled some Distress Inks (here I used Picked Raspberry, Squeezed Lemonade, and Peacock Feathers) with some mini blender tools. I chose a favorite Magenta stamp that was large enough to cover some of the area, but not too much. Stamps that cover most of the area on your card are still pretty, but you get less color that way. I used Tim Holtz Distress watercolor card stock. I like this watercolor paper, because it's good quality, it's already cut to size, and it's white instead of cream color. It's about 118# paper. I also like Strathmore 140# cold pressed paper.
I stamped the Bloom and Flourish image in Versamark ink (on the smooth side of the paper), and embossed using JudiKins White Diamond embossing powder. I love the sparkle that this powder gives to an image.
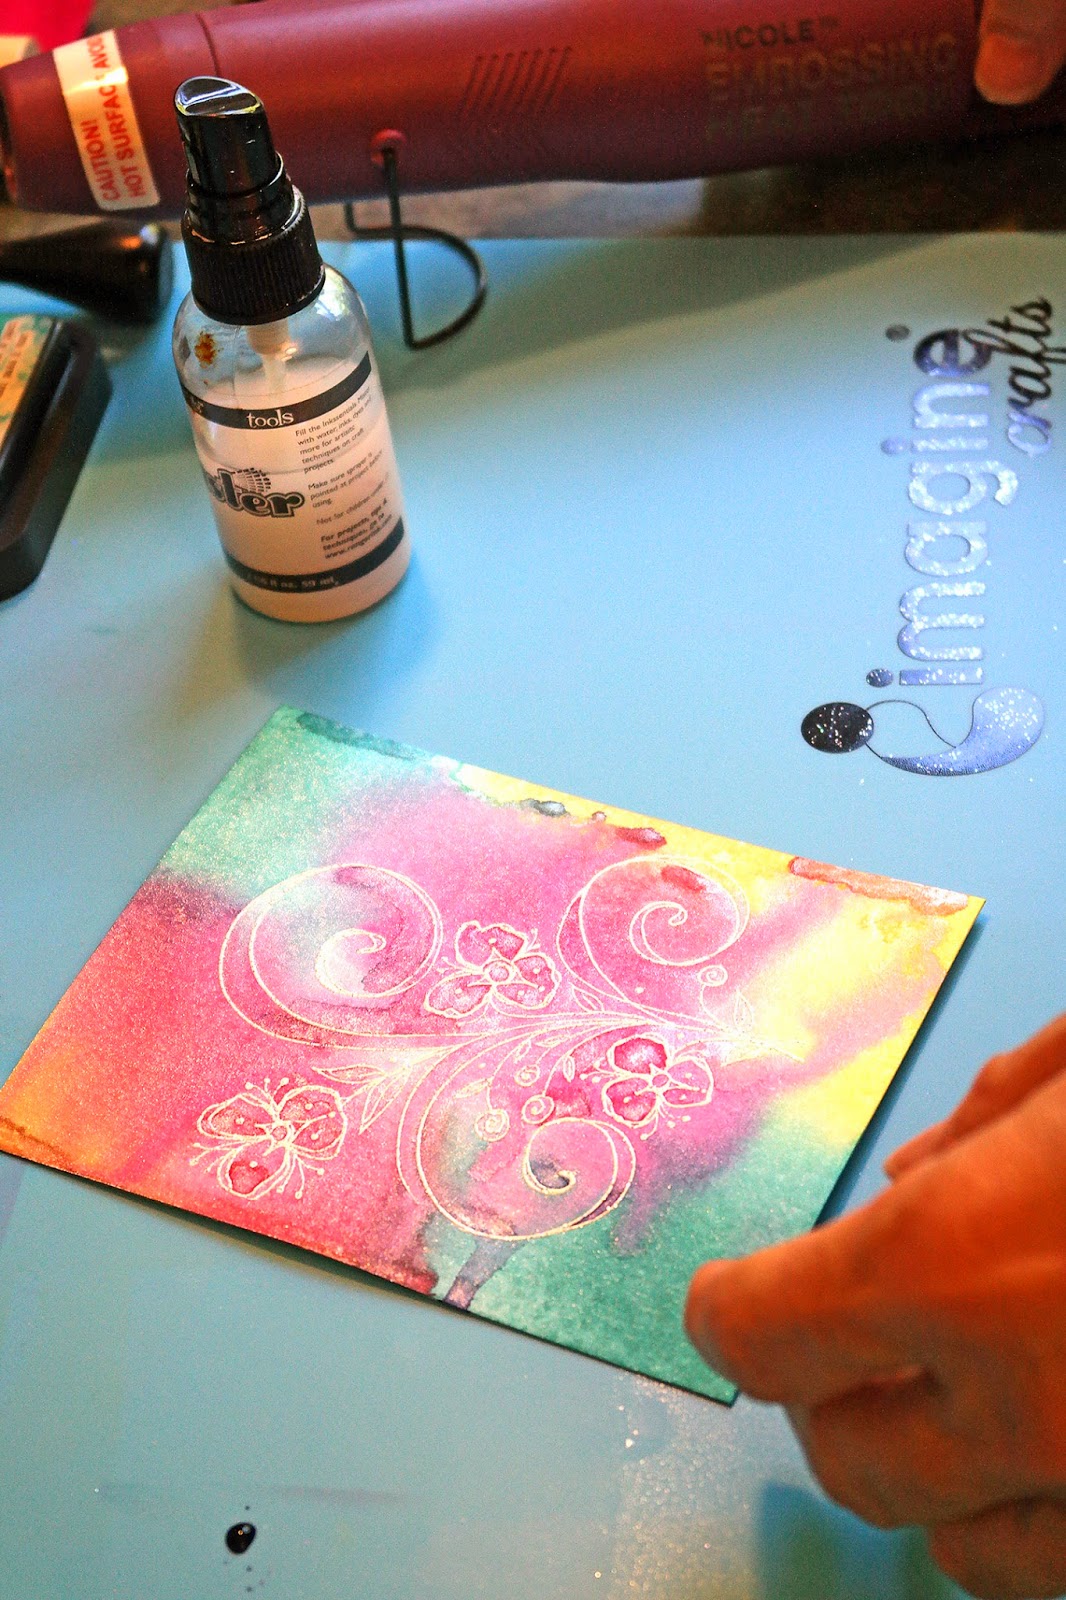
I applied the three Distress colors using mini blending tools. The embossed image resists the color, and really stands out beautifully.
I applied some of each of the 3 colors randomly around the card
You don't have to blend these colors at all. The blending will happen when you spray it with water
After applying the color, I spritzed the card stock liberally with water mixed with Perfect Pearls Pearl. In a 2 oz bottle like this one, I usually put about 1/4 tsp of the Perfect Pearls powder into a full bottle of water. If you use too much, you can clog your sprayer. The Perfect Pearls adds a beautiful sheen to your project.
Once I sprayed the card stock, the ink beaded up and began to run. You can tip the card stock to let it run together as much as you want, and until you are happy with it.
You can then either leave it to dry naturally, or you can dry it with a heat tool. Since I'm impatient, I usually dry it with the heat tool.
I really love how this turns out, and it's so easy to do!
BONUS TUTORIAL
I love, love sentiment stamps (especially Magenta ones), but they don't always fit on my card in the way that I want. You can adjust how your sentiments go onto your card using a stamp positioner. There are a number of these on the market, and yours may have a name like Stamp-a-ma-Jig or "The Big Ugly". Here I'm using one from Inkadinkadoo.
This positioner comes with two parts: a small T-square, and a square piece of plastic. The first step is to stamp your image onto the plastic square
The plastic should be positioned into the "T" of the T square, with the rough side facing up. Ink up your stamp, and stamp onto the corner of the plastic, with the stamp fitting into the "T" as shown.
Once you have figured out where you want the sentiment to go, put the T-square portion of the positioner so that the corner of the plastic square fits snugly up into the corner of the "T". Then without moving your paper, remove the plastic square.
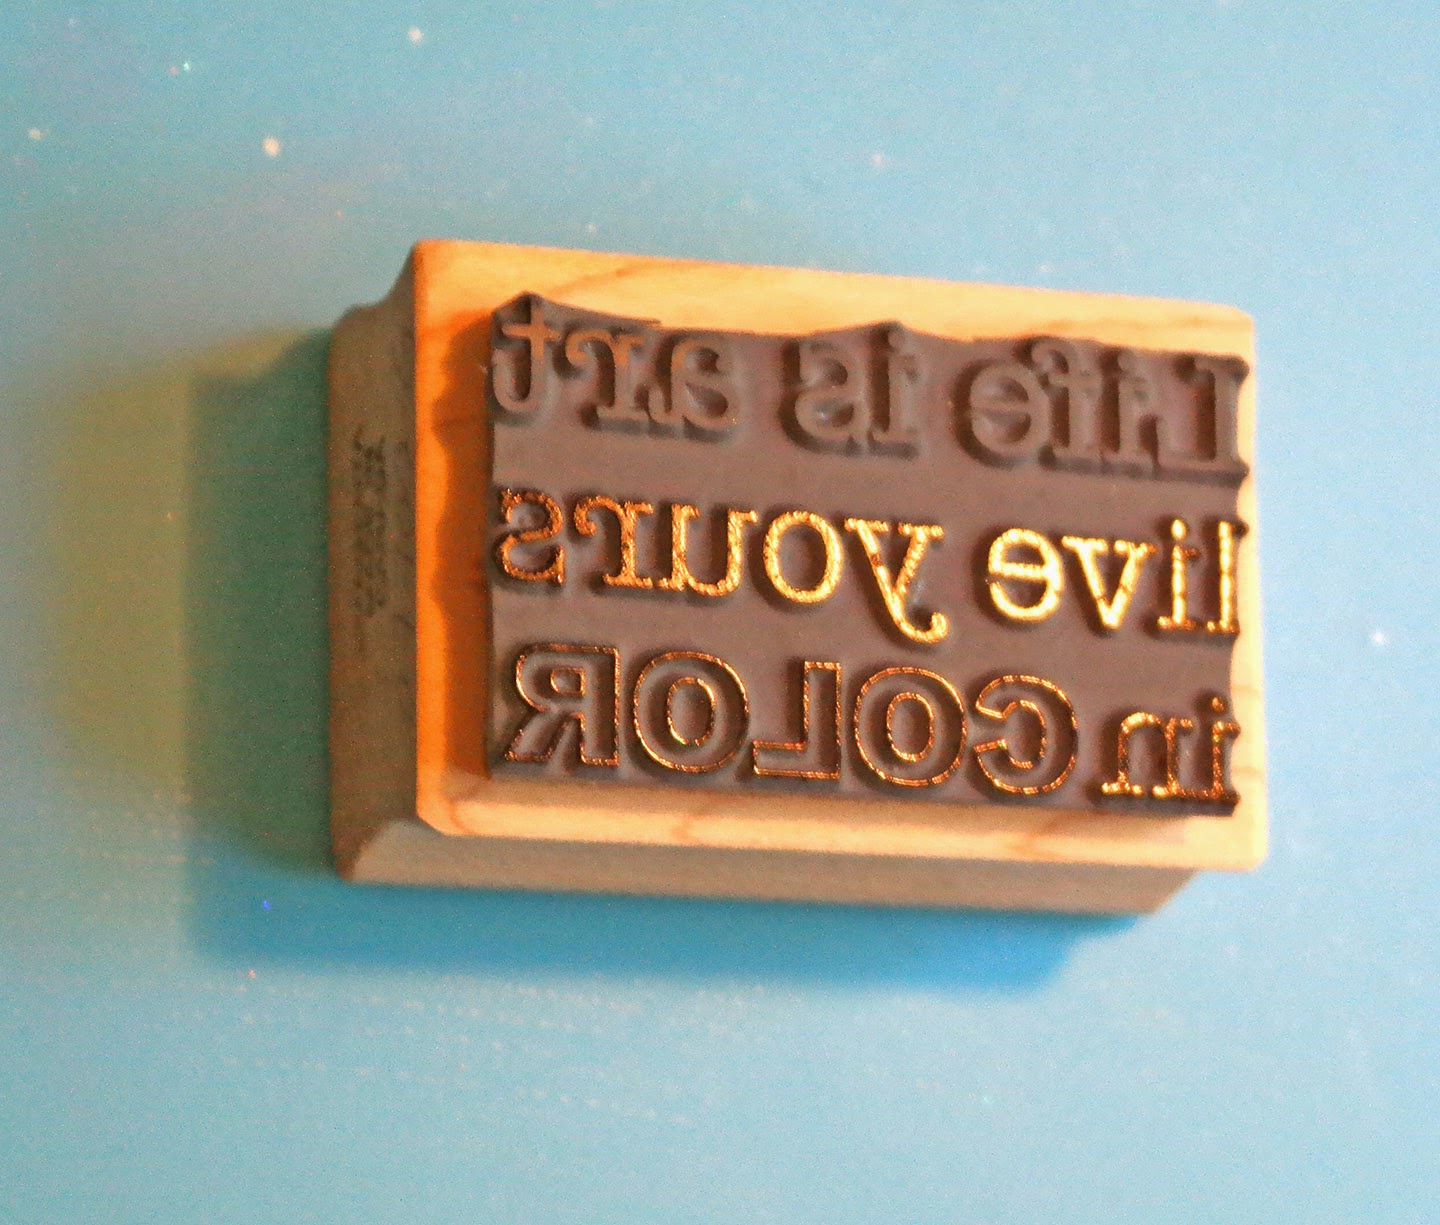
On your stamp, tape over the portion of the sentiment that you are not going to use in this first position. Just use regular tape for this; it won't hurt your stamp
Ink up your stamp. In this case, I used Versafine Onyx black ink. Sometimes I have difficulty with some inks stamping onto watercolor card stock, but I find that the Versafine works well. The tape prevents you from inking the part of the sentiment that you are not using.
Remove the tape, and here you can see that only the first line of the sentiment is inked.
Fit your stamp carefully into the "T" of the positioner, and press down well.
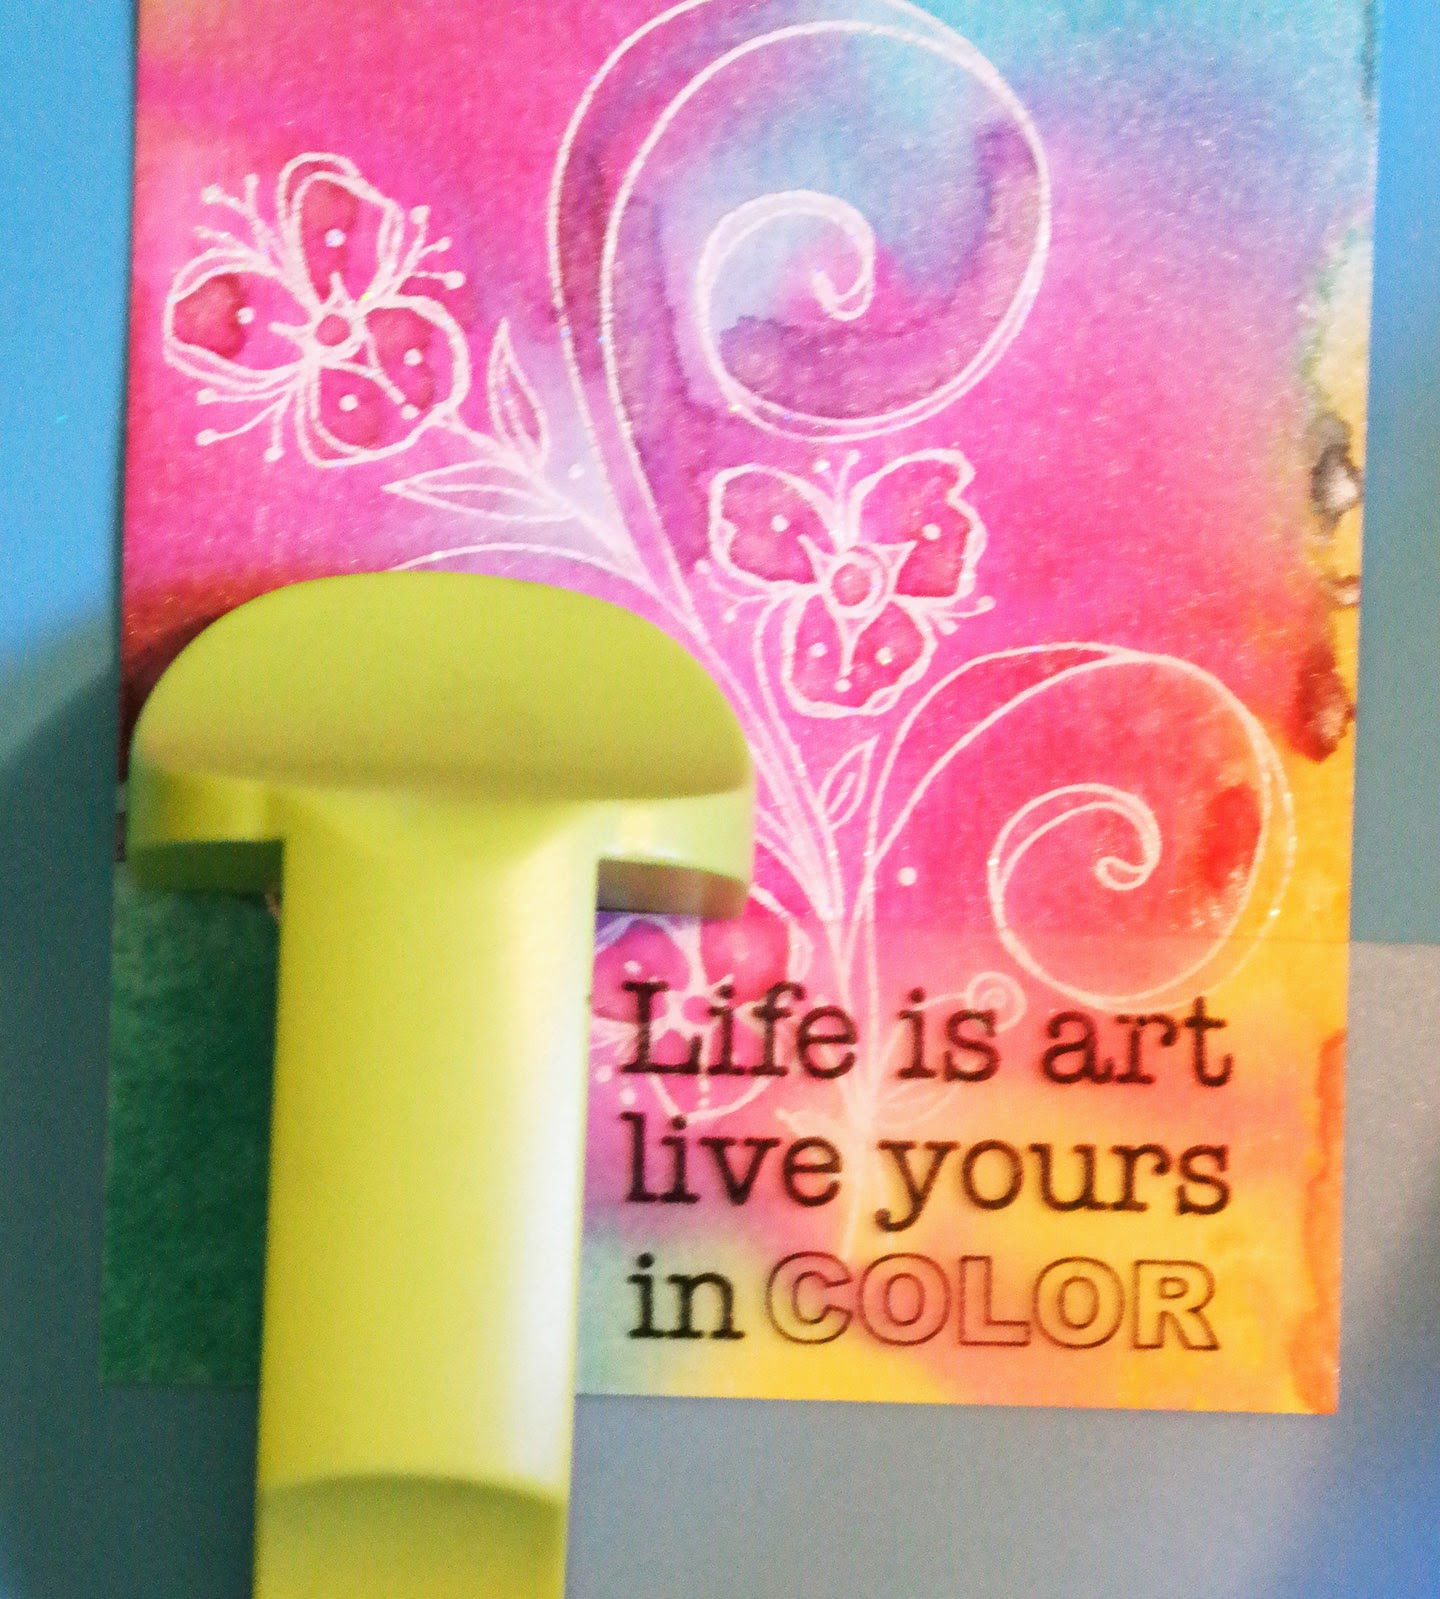
The portion of the sentiment that I wanted at the top of the card is now perfectly positioned where I wanted it.
Next put the plastic square back onto the card to see where to put the rest of the sentiment. Since I want "live yours in COLOR" at the bottom, I arranged it where I wanted it and put the "T" part of the tool in place. Remove the plastic square to stamp.
Tape over the part of the sentiment not needed in this position, and ink up the stamp
Remove the tape and only the portion you need will be inked
Stamp the inked sentiment onto your card by positioning the stamp into the corner of the "T"
I matted the card stock with a slightly larger piece of So Silk Beauty Pink, and mounted it onto an A2 size card. Some enamel dots were added from My Mind's Eye. Here is the finished card.
There is a lot of sparkle in the white embossing from the White Diamond embossing powder, and there is a beautiful sheen in the colors from the Perfect Pearl that was added to the water.
I hope you try this technique. It's fun, easy, quick, and creates a beautiful and very mailable card.
Magenta Stamps used:
P.0536 Bloom & Flourishes
07.700.G Life is Art
Distress Inks: Picked Raspberry; Peacock Feathers; Squeezed Lemonade
Versafine Onyx Black Ink
JudiKins White Diamond Embossing Powder
Tim Holtz Watercolor cardstock
So Silk Beauty Pink card stock
Perfect Pearls Pearl
Enamel Dots from My Mind's Eye - "Ashbury Park"


Love your clear and to the point steps tutorial.
ReplyDeleteI'm a big fan of distress ink, so versatile and easy to experiment with.
Thank you Mariëtte! I'm a huge fan of your cards as well!
DeleteI love this! I hadn't thought to use my stamps and blending colors like you did and it looks so easy! Thank you!!!!
ReplyDeleteMy pleasure Kerri!
Delete