|
| just a note to say hello |
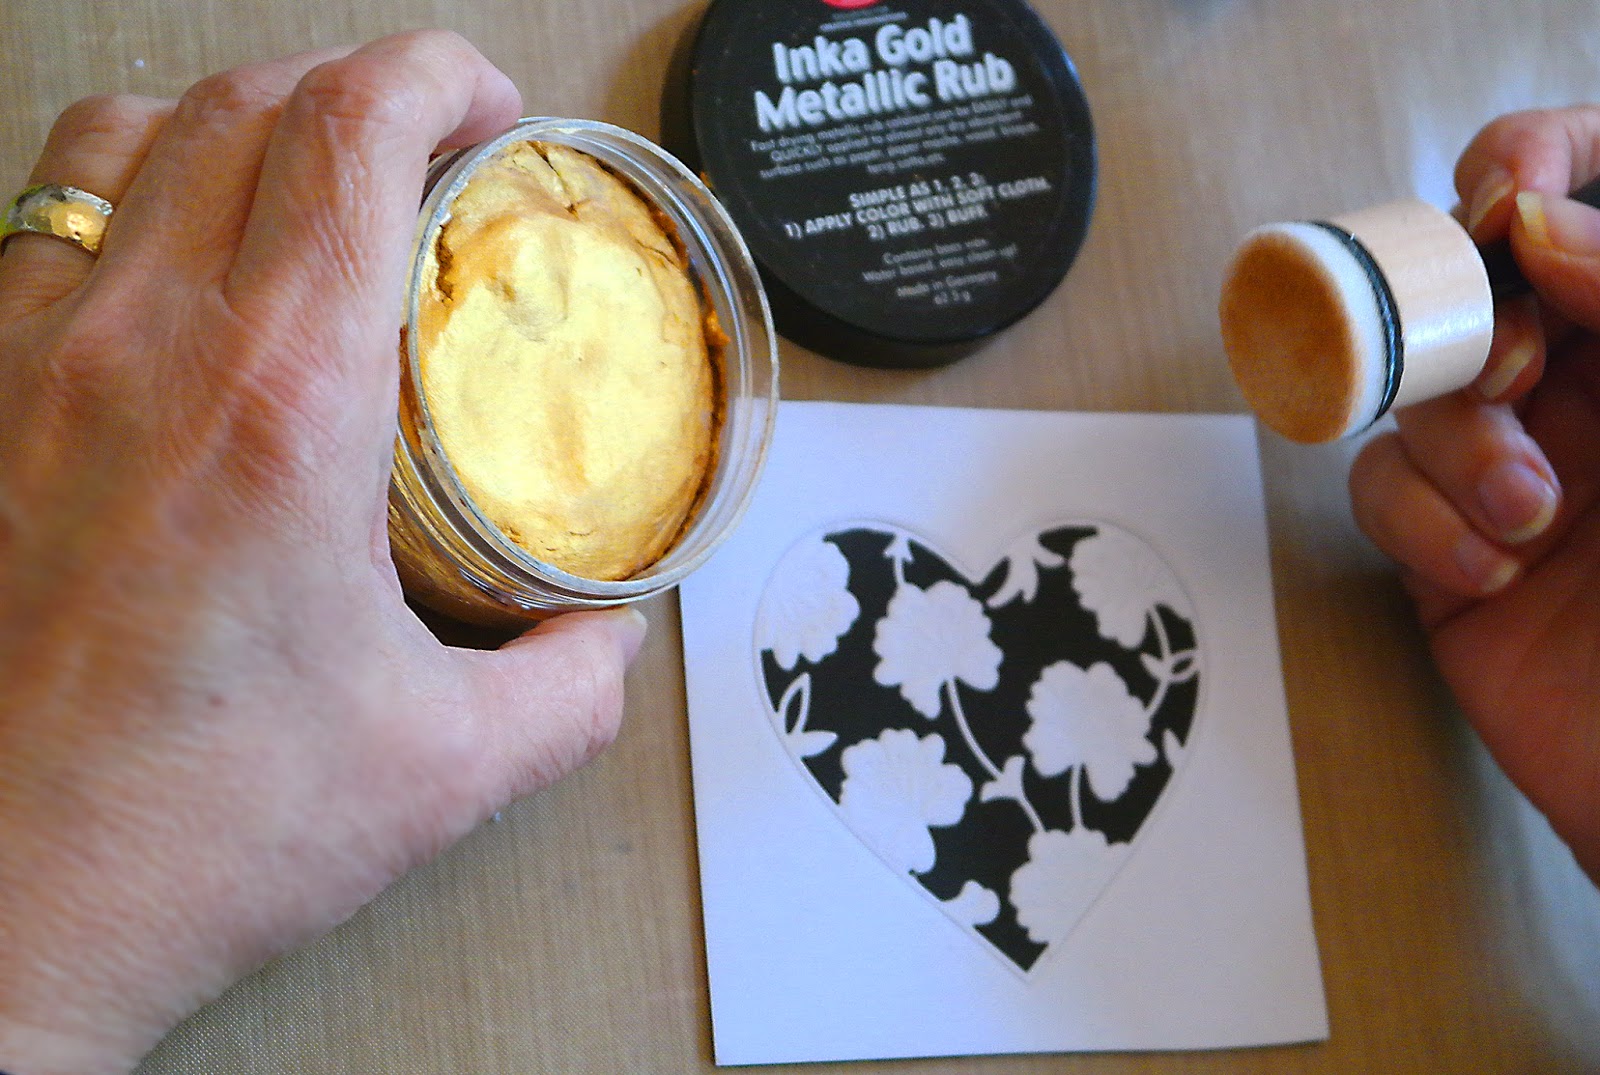
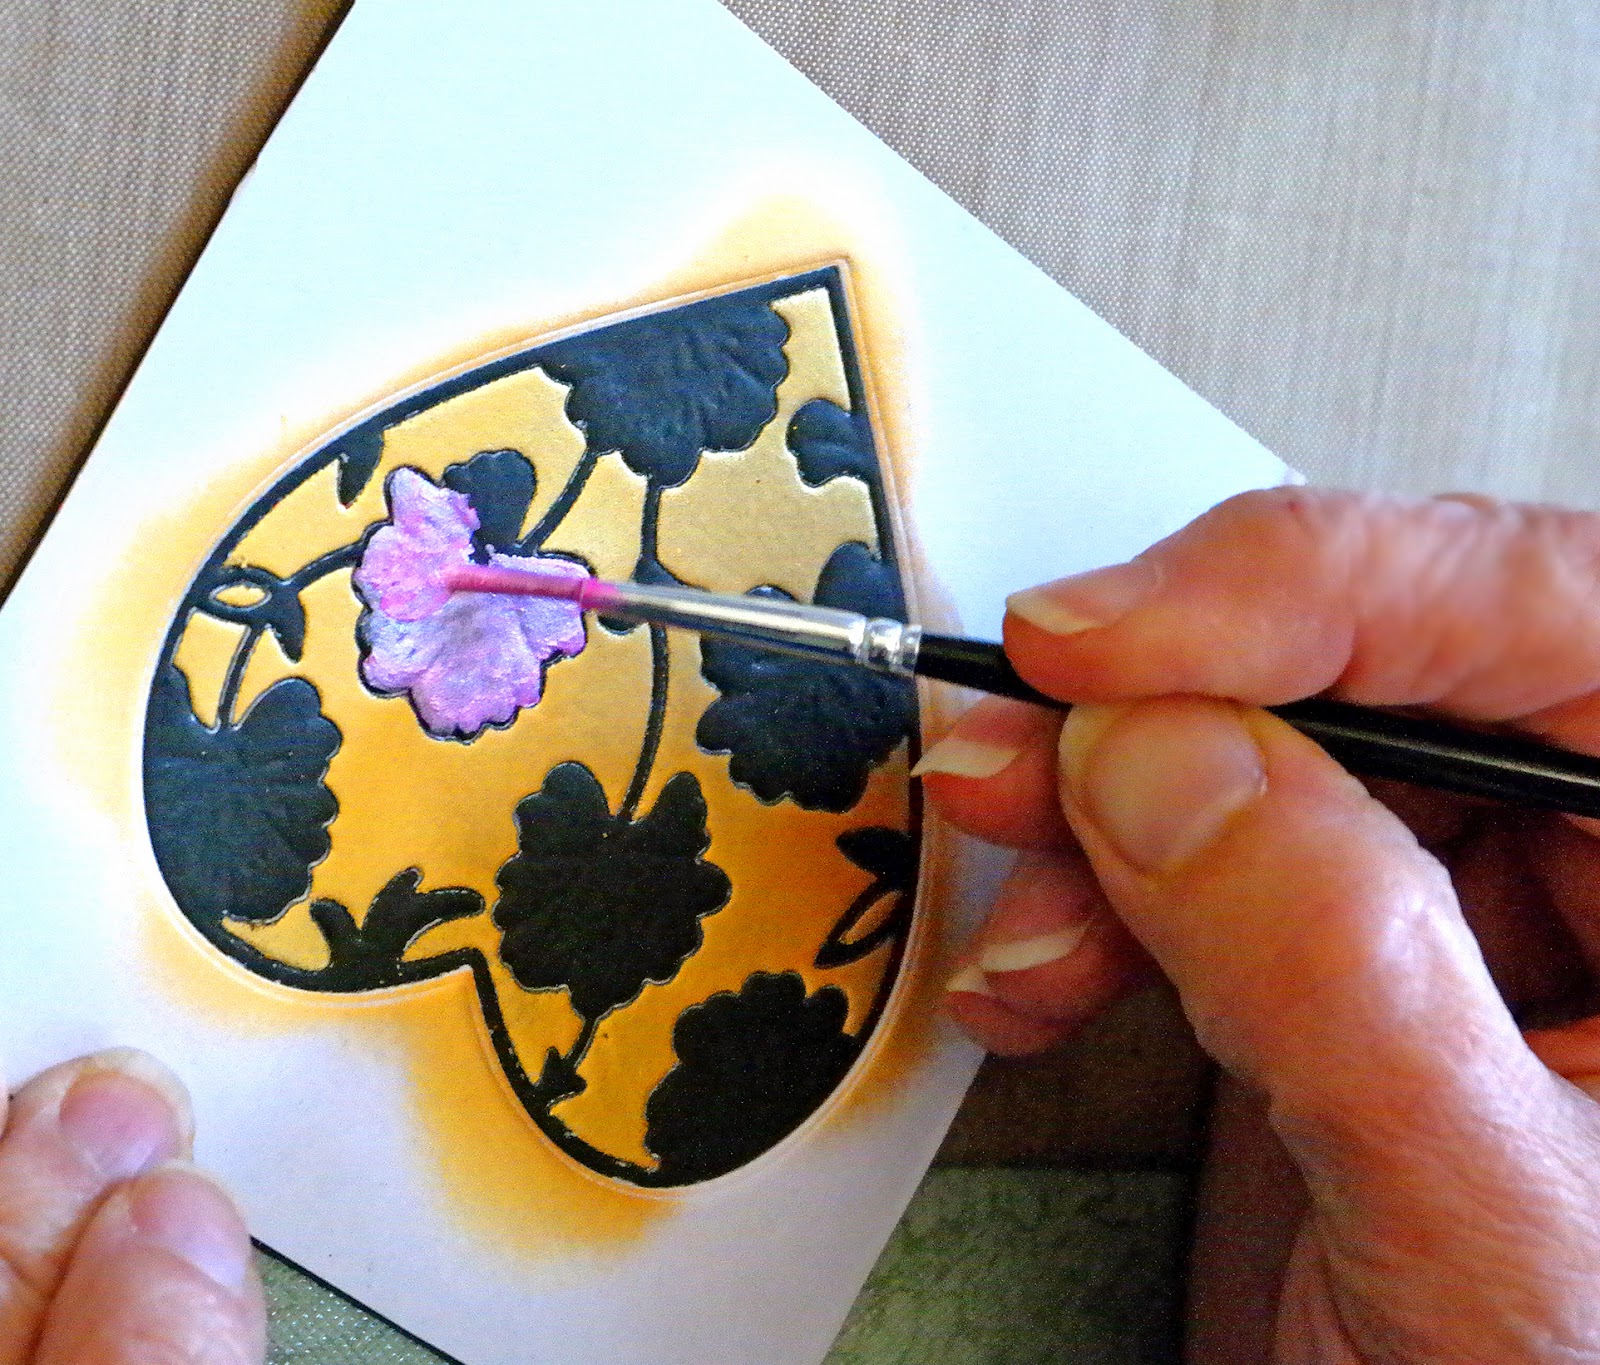
On this one I used the large round shaker pouch from Impression Obsession. I also used a die from Impression Obsession that cuts out the piece that surrounds the shaker pouch, giving it a nice finished edge. The center image behind the pouch is stamped using a fabulous Magenta Stamp. I had previously stamped this piece and decided not to use it for the project I was doing at the time. I found my stash of previously rejected panels very useful in creating a variety of shaker cards.
I put beads and spangles into the well of the shaker pouch, and sealed it with the leaf panel that I die-cut using a round die. The nice thing about the shaker pouches is that there is adhesive on the back edge, covered with release film. I adhered the sealed pouch to a white base card, and then adhered the orange overlay piece around it. The "just a note to say" stamped image, and the "hello" die cut are from a great Hero Arts Stamp & Cuts set. They have 4 of these sets that have a word die and sentiments that go with that die.
I die cut the "hello" image from some glitter paper, and colored it with an orange Copic marker. Last, I adhered some sequins using Ranger Matte Multi Medium. This card was super easy and quick to do using the Impression Obsession pouch.
Magenta Stamp used:
 |
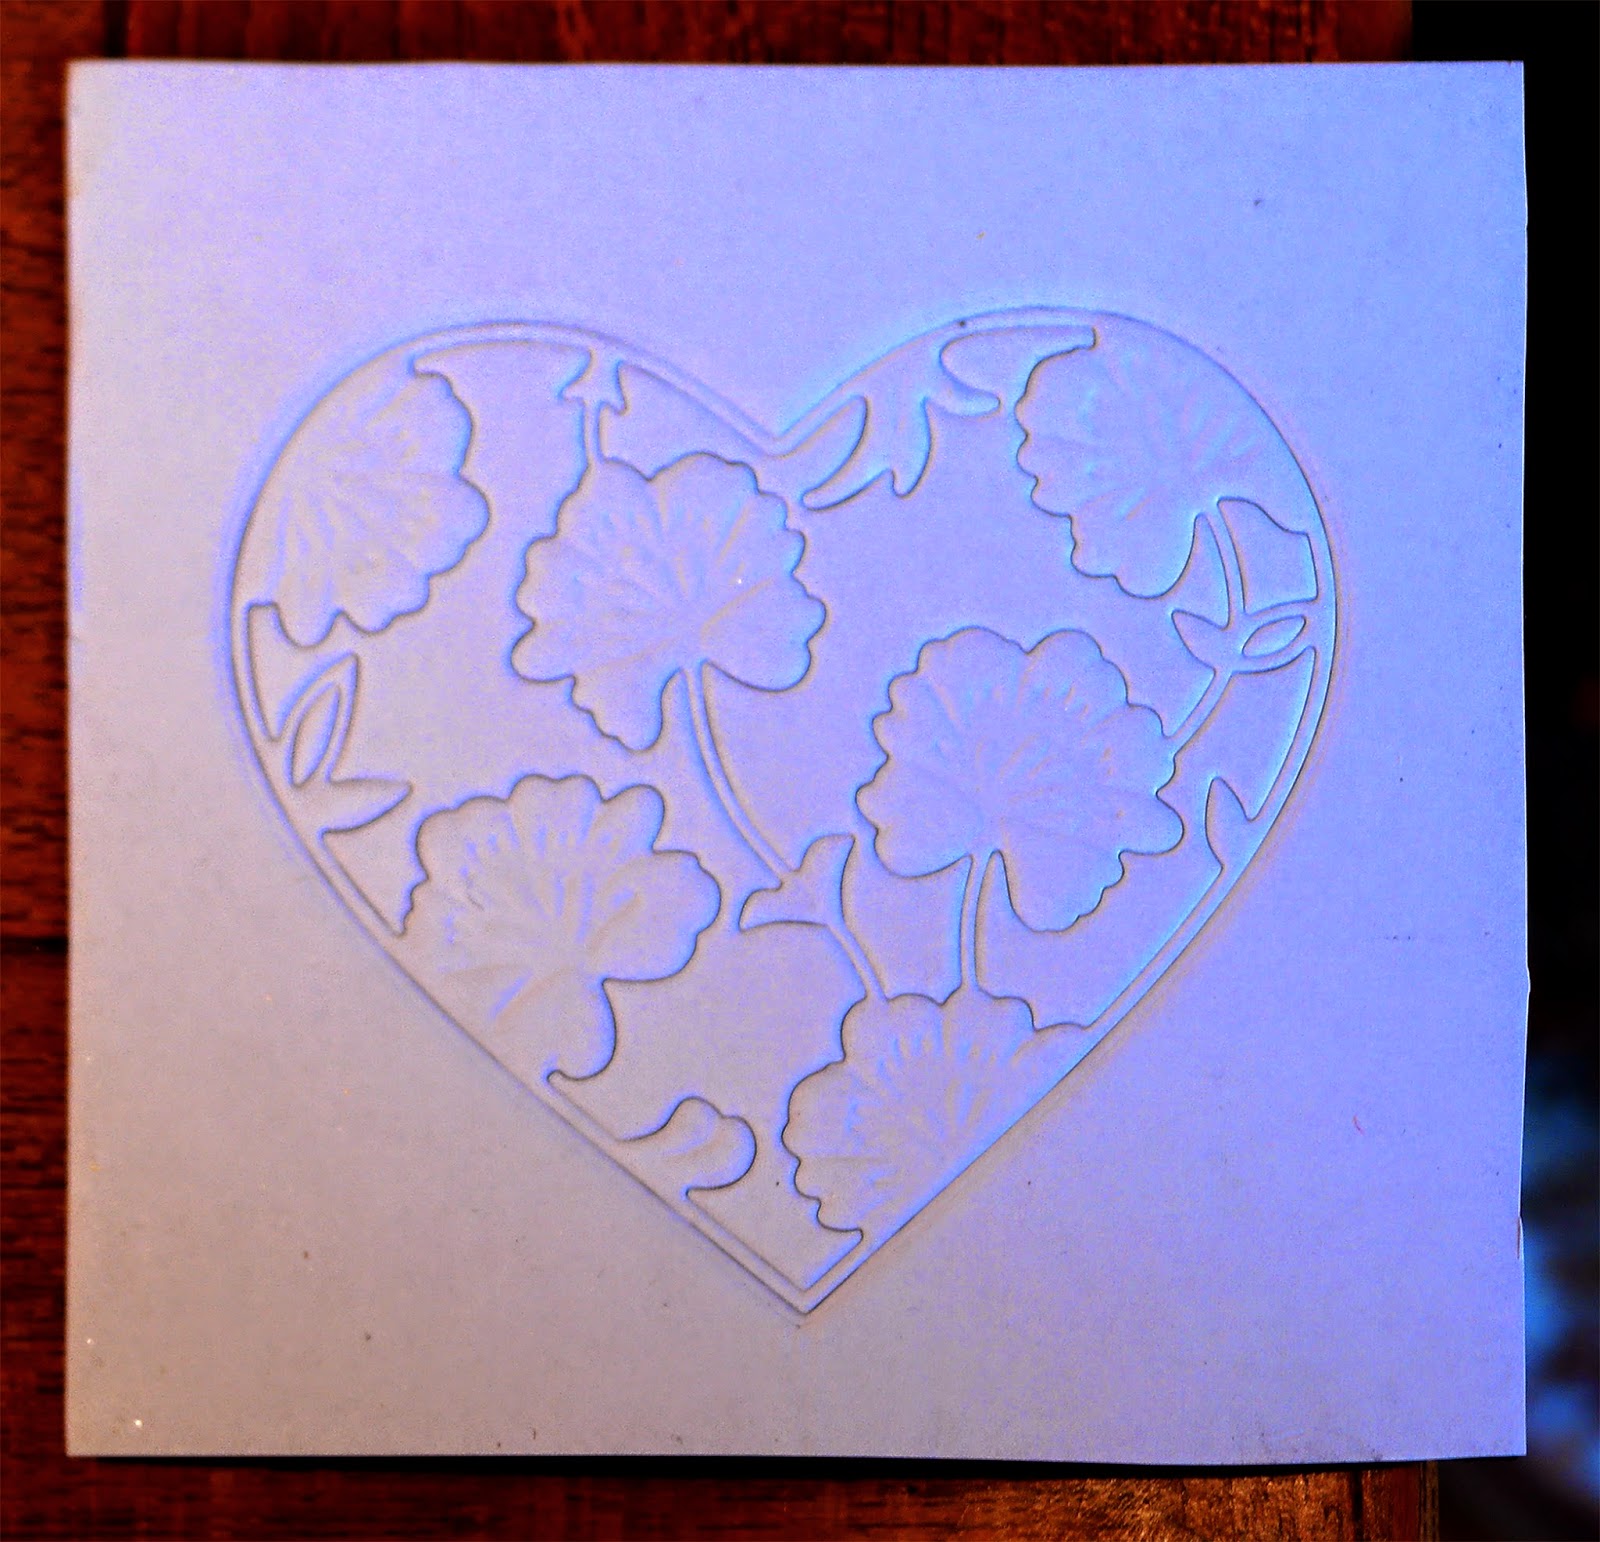
| Leaf 0661.H |
Other Materials used:
Hero Arts Stamp & cuts Hello DC151
Hero Arts Orange nail heads
Impression Obsession large round shaker pouch
Impression Obsession Circle Shaker Frame die DIE001-Z
Die-namics Circle STAX dies
Glitter paper
Stardream Flame paper
Copic marker YR04
Versafine Onyx Black ink
Memento Tangelo & Morocco ink
Various beads, spangles & sequins
Ranger Matte Multi medium
 |
| Congrats we're so proud of you |
Here's another card using a shaker pouch from Impression Obsession - this time the small round one. I also used another Hero Arts Stamp and Cuts set called "Congrats". This one was constructed very much the same way as the one above. The image behind the pouch is one that I had previously done using the acrylic block stamping technique. You can see a tutorial of this technique here. Since I used pearly water (I use a formula of 2oz water to 1/4 tsp Perfect Pearls Pearl mica powder), the background has a beautiful sheen that goes well with beads and spangles. The base card is a shiny silver, and I like the silver and lime green color scheme.

You can see a closeup of the shaker pouch here. The pouch sticks out a little, and therefore is not the ideal card to mail, unless you are sending a package.
Materials used:
Hero Arts Congrats Stamp & Cuts DC149
Die-namics Circle Stax dies
So Silk Lime Green cardstock
Versafine Onyx Black ink
Various Distress greens & blues (sorry, do not remember the exact colors)
Perfect Pearls pearl mica powder from Ranger
Various beads, spangles & sequins
Ranger Matte Multi Medium
 |
| Thanks you made my day |
This is one of my favorites. I used a small square shaker pouch from Impression Obsession. The background is a stamped image that did not work out for a previous project. The stamp is Magenta May Flowers Bold Silhouette 0579.L, and is one of my favorite Magenta stamps. I also used another Hero Arts Stamp & Cuts set, "thanks." The "thanks" was cut out of white glitter paper, and the "you made my day" was stamped with Versamark and embossed with White Diamond embossing powder from JudiKins.
I can't stress enough to keep your scraps of paper that you create when you're playing around. The surround on this shaker pouch came from a piece that I made when I was demo'ing stencil stamping. You can see a tutorial on stencil stamping here. I was demoing this technique with several Distress ink colors, and I would place the stencil on a piece of white card stock to clean it off each time. It created a lovely layered piece that I saved for just the right time. It has a very pretty pearly look in real life.
Magenta items used:
 |
| May Flowers Bold Silhouette 0579.L |
 |
| Background Trio Template TM53 |
Other Materials Used:
Hero Arts Thanks Stamp & Cut DC152
Impression Obsession small square shaker pouch
Spellbinders Classic Squares Large and Classic Squares Small
Distress Ink: Peacock Feathers, Picked Raspberry, Mustard Seed
Memento Ink: Rose Bud, Bamboo Leaves
Versamark Ink
White Diamond embossing powder from JudiKins
So Silk Beauty Pink paper
Various beads, spangles & sequins

I absolutely love, love, love this card! I did two shaker cards that were not using the Impression Obsession pouches. Honestly, the pouches are the fastest way to go, but you can also make really fun shaker cards using your dies and some acetate. I will not go into great detail here about how to make these. It's much easier to show you than tell you, as I discovered at play day, when I tried to explain it without an example. I promise that later this week I will have a tutorial for you with pictures.
This card was made with a really fun Poppy die called Hello Word Balloon (1100). This is a great die - when you cut it out you get the word balloon and also the inside part that says "hello", so you can use it with or without. The sentiments were from the Hero Arts "Hello Stamp & Cut" set (yes, and there is also a "Happy" Stamp & Cut set that I didn't use yet, but maybe I'll use that one for the future tutorial). The adorable ducks are Rosie's Roadshow, and I stamped them with Versafine Onyx black ink. I colored their bills and cute little feet with Copic markers - just use whatever oranges you have. I also took a green Copic marker and colored around underneath them to ground them. I used a gray C01 (very light) to do some shading on their bodies. A few sequins were mounted on the panel using Ranger Matte Multi Medium.
The background behind the shaker was a rejected piece that I made with the ink & salt technique. You can view a tutorial of this technique here. I didn't like the piece when I originally made it because it had large silvery areas that were created because I got the piece too wet and the salt melted in puddles with the pearly water. It was perfect for the background of a shaker card though, where you want all the shine and shimmer you can get.
Materials Used:
Poppy Hello Word Balloon die 1100
Rosie's Roadshow stamps: Booker 332C and Lena 333C
Hero Arts Hello Stamp & Cuts DC151
Copic Markers 2 oranges and a green (sorry did not retain which ones) + gray C1
Distress Ink: Faded Jeans & Rusty Hinge
Perfect Pearls Pearl powder
Onyx Black Ink
Stardream Flame paper
Various sequins & spangles
Ranger Matte Multi Medium
Thanks for hanging in there with me! I have one more card to share, and this one might be my favorite, although it may have taken the longest to make.
 |
| Butterfly Hello |
The front panel of this card is SEI Clover velvet paper. I really like velvet paper, and have been wanting to try it on a shaker card. I love how this turned out. I mounted the velvet paper onto a piece of green card stock to stiffen it. The openings were die cut with Memory Box butterfly dies. The background behind the openings was a piece that I had previously made with glossy paper and JudiKins Mica Gloss (yes, you guessed it - that piece was in my pile of "maybe I'll do something later with this". It was a perfect piece to put behind the butterflies.
The sentiment was cut out of black glitter paper, and the die is from the Hero Arts Hello Stamp & Cuts set. The whole thing was mounted onto glossy black paper, and the right edge was punched with a Fiskars border punch. Since I didn't like the white showing through the border, I lined the right half of the inside of the card with a strip of homemade washi tape (made from a napkin). You could also use a piece of patterned paper.
Materials used:
Hero Arts Hello Stamp & Cuts DC151
Memory Box dies: Moonlight Butterfly 98260 & Isabella Butterfly 98507
Velvet paper: Clover
Various Judikins Mica Gloss (Gold, Purple & Blue)
Black glossy paper
Various sequins & beads
Ranger Matte Multi Medium
I hope you enjoyed these cards and that you will make some shaker cards of your own! Check back later this week for a tutorial on shaker cards using dies.