Pages

Friday, March 25, 2022

Super Saturday at Magenta: Card Exchange and Distress Blending

 Hi Everyone! I'm over at the Magenta blog today with this post, and you can see it here.

I want to take a few minutes to talk to you about the Magenta Card Exchange. It's hosted by DT member Mariëtte van Leeuwen on the FaceBook page Magenta Style - Passion Studio. It's a page for people who are passionate about Magenta, and a place to share and view cards made with Magenta products. Here is my exchange card this month


The Card Exchange will be taking a brief hiatus for the Summer (as usual) but will start back up in the Fall. I really hope you will join us. It's an amazing way to meet fellow card-makers all over the world. You send a card to the name and address you are given, and you will also receive one from someone completely different. I have had several really enjoyable conversations over FaceBook Messenger with card-makers who have received my cards. It's so rewarding to discover how much we all are alike. I have met the most remarkable people through this craft.


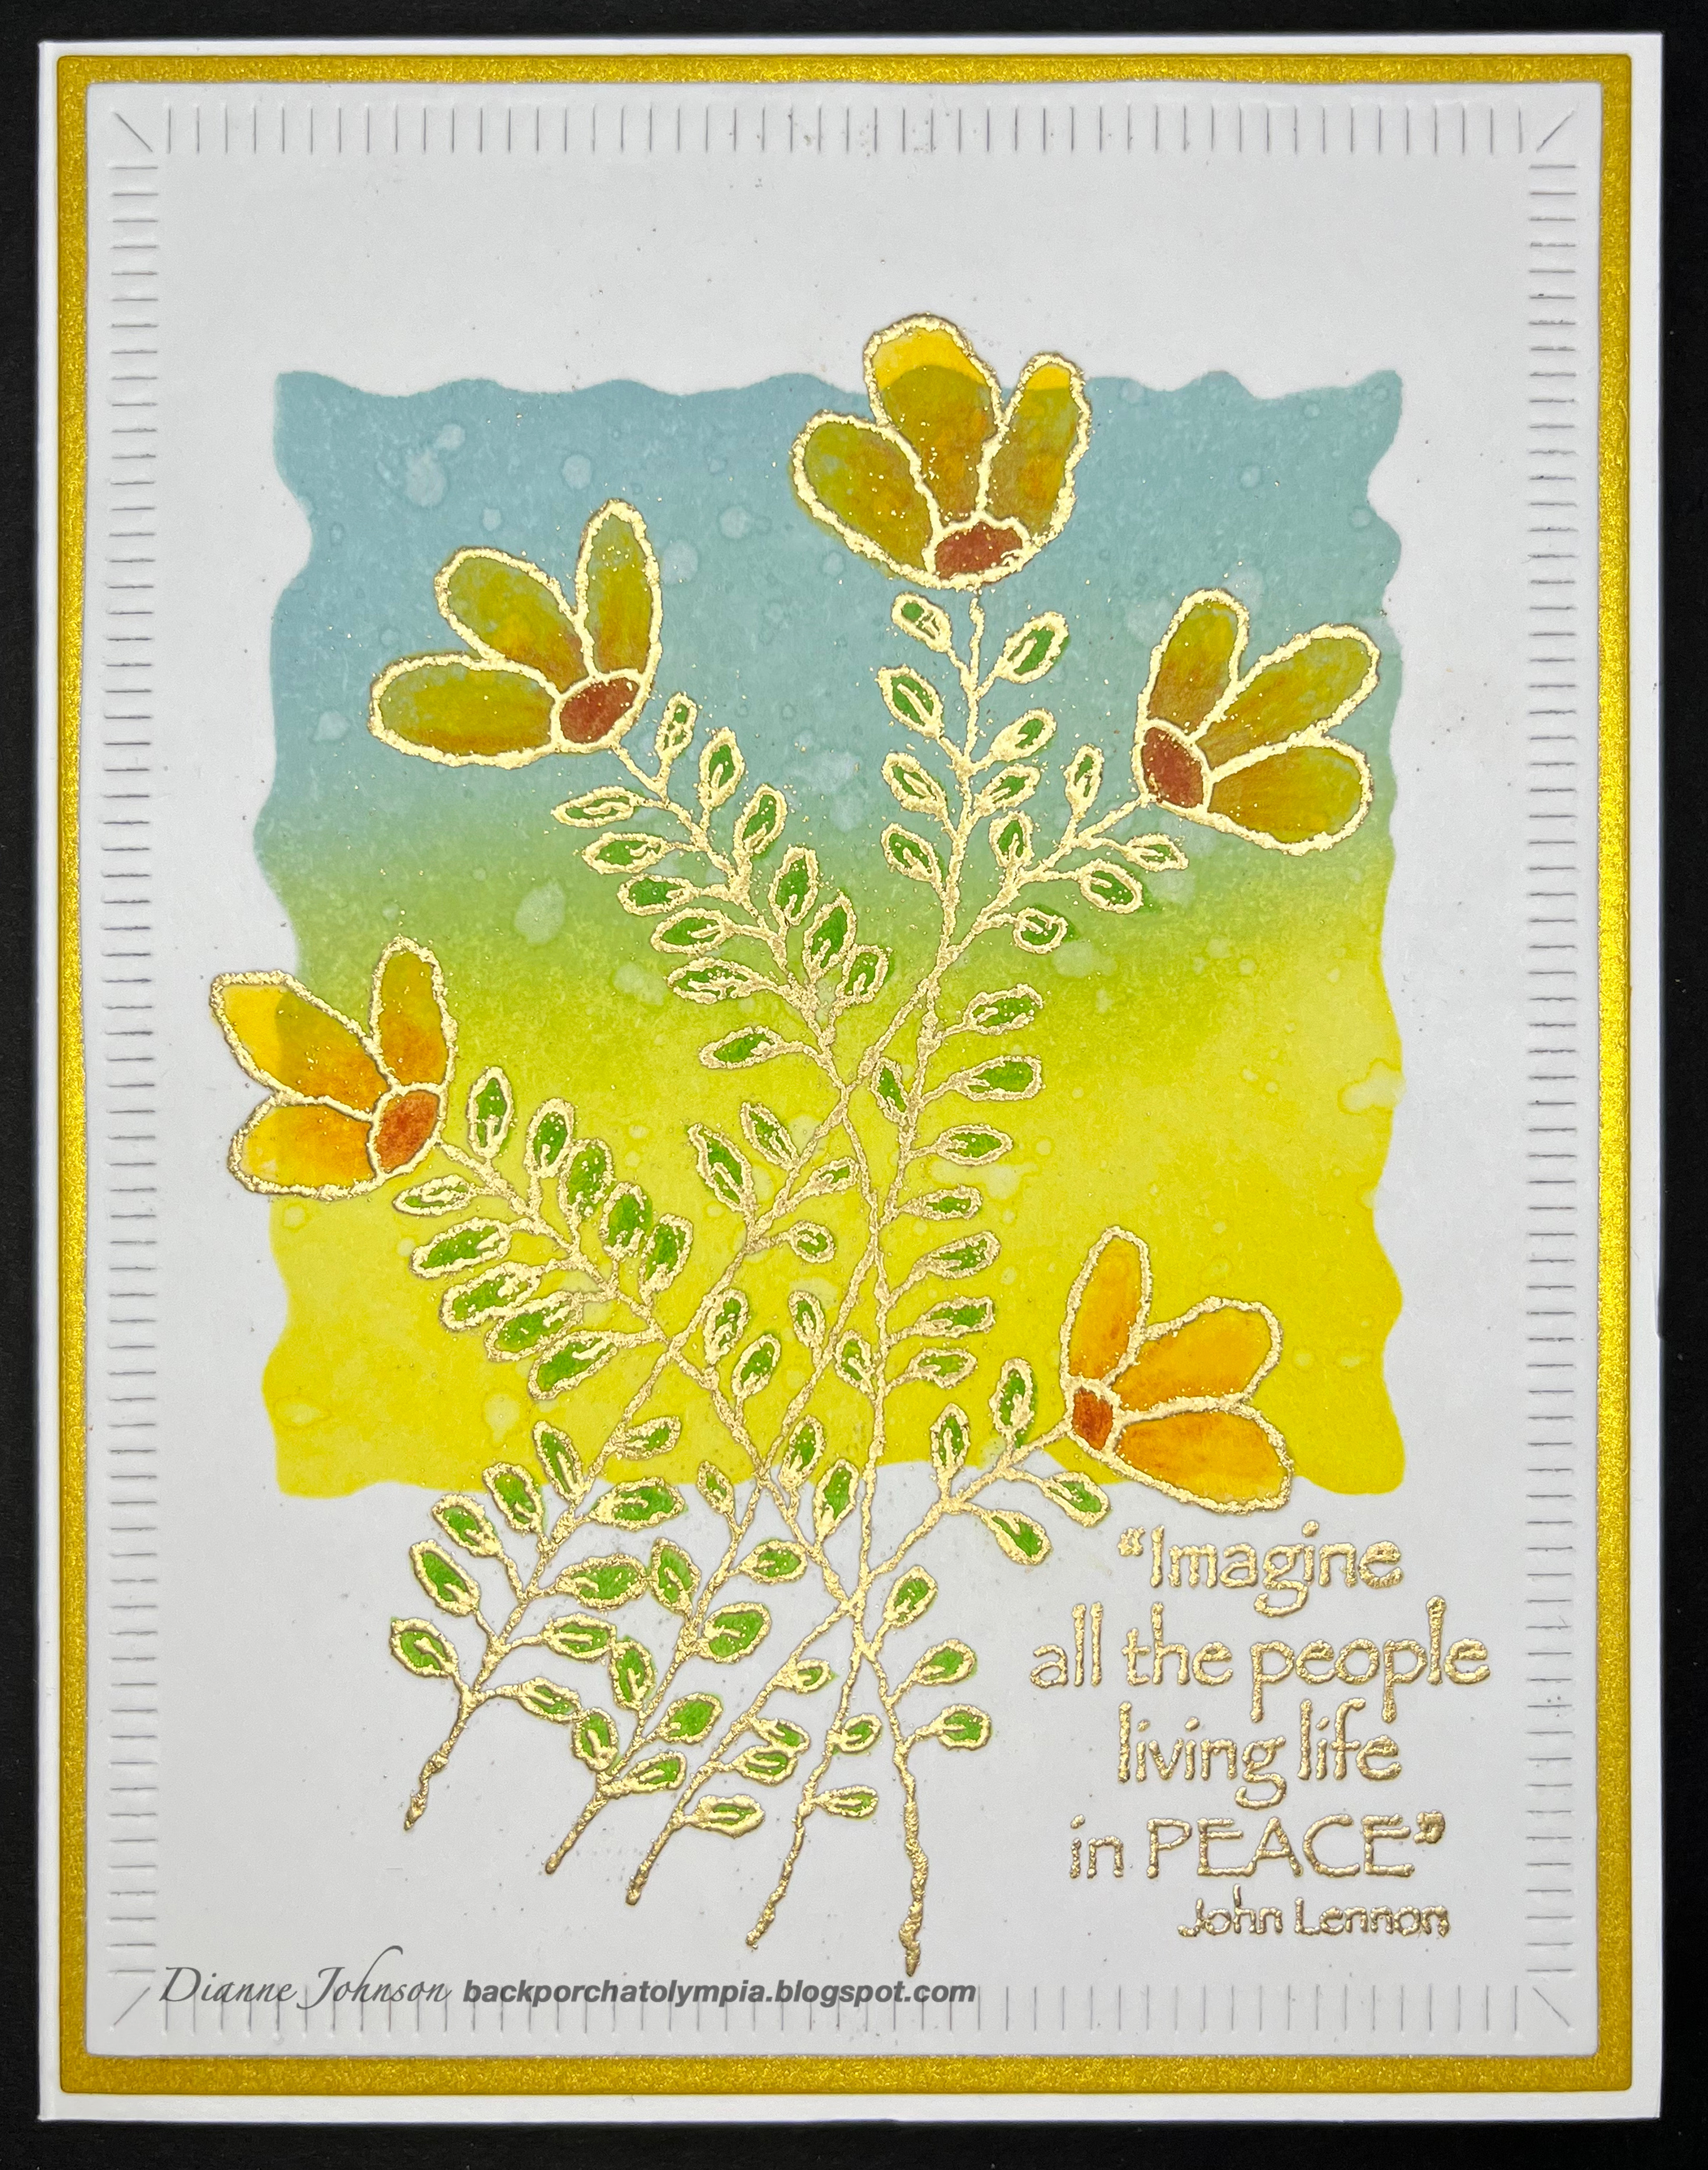
I was very much thinking of the Ukrainian people when I made this card. They are in my heart. I have followed a card maker from Ukraine, Yana Smakula, for many years, and I cried when I read her first post after Ukraine was invaded. She still posts on her blog and Instagram, and most of her posts start with "We are still ok." or "we are safe." I hope she and her husband and mother remain so.

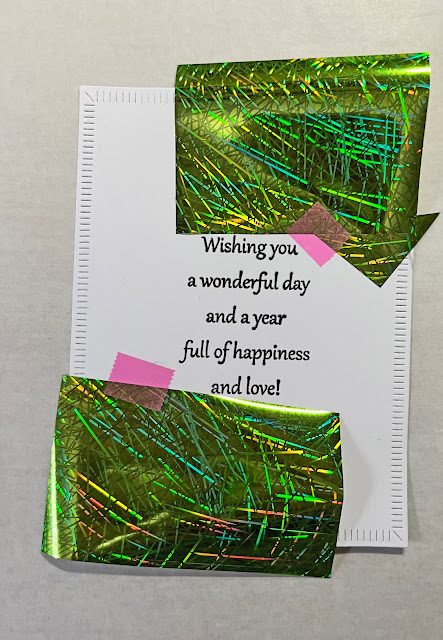
To make this card, I used the Magenta TM277 stencil and blended Distress Ink into the square. I stamped the Magenta Graceful Tri-Petals stamp (one of my favorites) and used Prismacolors to color in the petals and leaves. I stamped the image once more onto my panel and embossed in gold; then added the Peace sentiment and embossed that in gold as well. I die cut the panel with the Greetery Crimped Frame die.

Magenta Products Used:
TM277 Square Silhouette

Other Products Used:
Distress Ink: Mustard Seed, Speckled Egg
Prismacolor Pencils: PC1032 Pumpkin Orange,
PC1003 Spanish Orange, PC912 Apple Green
Ranger Gold Embossing Powder
Versamark Ink
The Greetery GD-M-016 Crimped Frame Die
Neenah Solar White 80# & 110# cardstock
Curious Metallics Super Gold cardstock


Friday, March 4, 2022

Super Saturday at Magenta: Foil Your Stamping

 Hi everyone! I am also posting this card on the Magenta blog today, and you can see that post here.

I recently watched an excellent video by Therese at Lost in Paper. Therese is a very talented paper crafter from Australia, and she did a live video on how to use toner foil on cards with or without a laminator. You can see her very informative and fun video here. One of the things that I picked up that I didn't know is that you can use heat embossing to add foil to your cards. In other words, you can stamp an image, emboss with clear embossing powder, place foil on it and run it through the laminator, and it will foil your stamped image. I was amazed because I had never realized that, and guess what? It works really well!


The first thing I did was to use the Greetery Crimped Frame die to cut a piece of scrap paper. I arranged my stamps on it and stamped to get the arrangement I wanted and to be sure everything would fit. I then die cut a panel from Neenah 80# solar white cardstock and stamped the sentiment first. I arranged the Magenta Curved Leafy Branch stamp onto the panel at the top and then the bottom, to frame the sentiment. I embossed the leaves with clear embossing powder.


I chose a color of foil that I liked and then cut two pieces out for the top and bottom. This is transfer foil that is often used in a laminator. Hot foil used for Glimmer type machines will not work in this way.


The best way I have found to cut out sheets of foil is a rotary type paper trimmer such as the one above. It allows you to measure the piece you want to cut, and you can hold the foil down securely while cutting. It cuts the foil beautifully. I prefer a guillotine type paper cutter for paper, but I'm very glad I saved this trimmer out - it's perfect for this task.


I taped the foil in place to cover the embossed leaves. I didn't want the foil to shift going through the laminator.


I sent the panel and foil through the laminator using a parchment/wax paper sleeve to protect it. I recently got this Royal Sovereign laminator to replace my very old one. I thought it only had one setting, but apparently it has two: cold and hot. I guess there must be a reason that you would want to send something through a laminator using the cold setting, but I don't know what it is. Not knowing about the cold setting at first, I sent the panel through that way and of course I thought my new laminator was broken. Luckily the cold/hot switches were very apparent on the front and I set it to hot, waited for the "ready" light and sent it through again.


It worked perfectly and I really was amazed. I plan to use this technique a lot more in the future. This birthay card is going to my daughter in law, because I think she will really like it.

Magenta Products used:

Therm O Web Brutus Monroe Green Sketch
Foil Transfer Sheets 19029     
The Greetery GD-M-016 Crimped Frame dies
Versamark Onyx Black ink
Versafine ink
JudiKins Detail Clear embossing powder
Neenah Solar White 80# & 110# cardstock
PTI Pinefeather cardstock