I used a 4" black Art Square, which is a new addition to the Art Square line. It's always been my opinion that there's nothing not to like about black Art Squares. They make anything you are doing elegant and beautiful. You can just mount your photos on them and they will frame them beautifully.
Here's the card I made using the die masking technique;
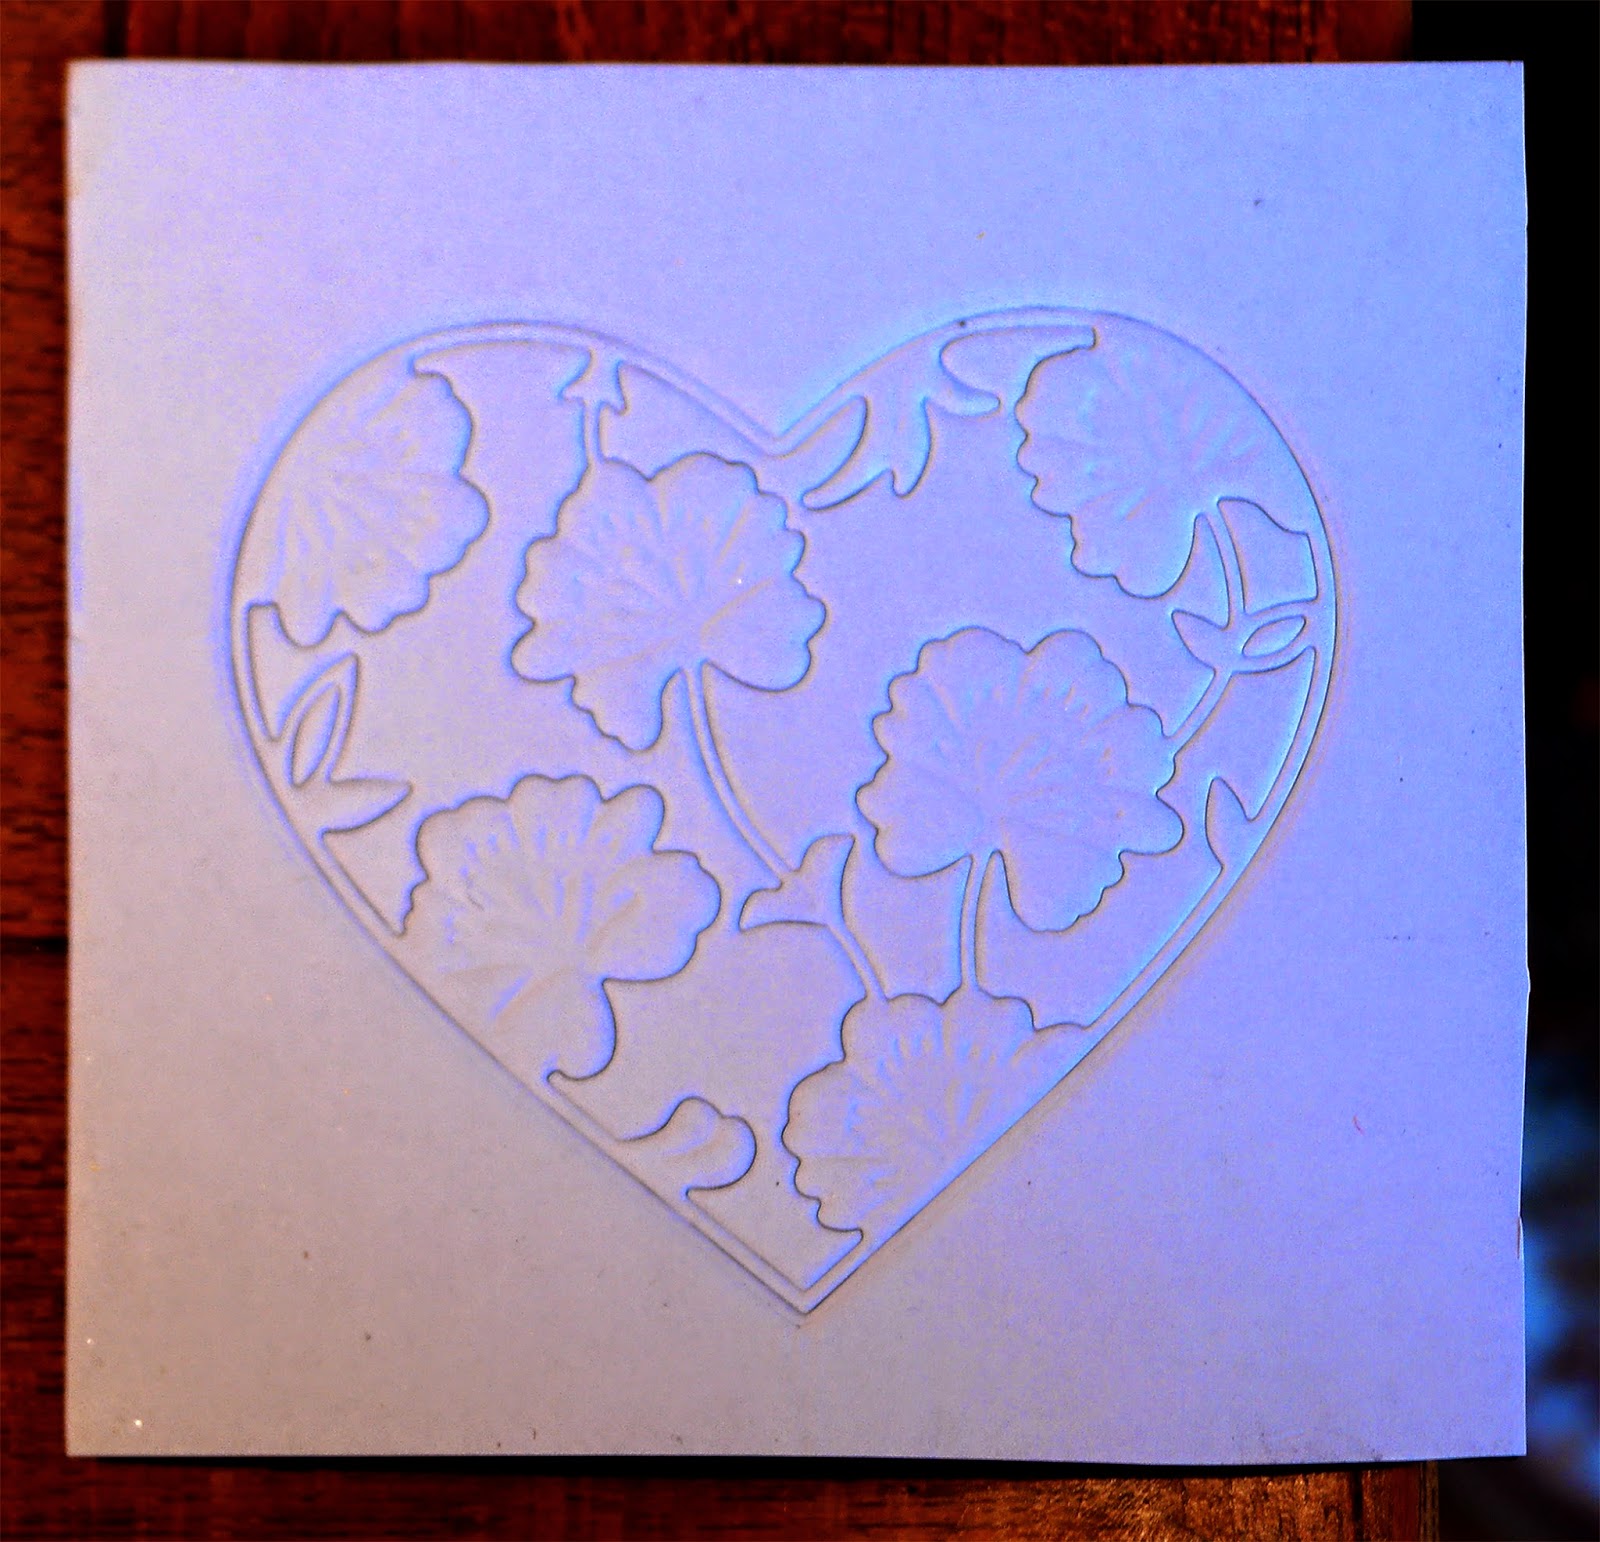
Lisa Lee really came up with a genius way to use dies with Art Squares. The dies don't cut the Art Squares, but they do emboss them. If you cover the Art Square with masking paper, the die will cut the masking paper and you can selectively peel off the masking paper and color the different parts with different colors.
Here are the steps:
1. Take your Art Square and cover it with masking paper, cutting it flush on all sides.
 |
| Showing you the black Art Square under the masking paper. Gaahh, isn't it pretty? |
2. Choose a die to use that has some detail to it, and place your die face down on the Art Square. I use a Big Shot, and the sandwich I use is (from bottom up) platform, metal shim, 2 pieces of card stock, a spare Art Square the same size as the one you're working with, your Art Square that is covered with masking paper, your die, face down, and one cutting plate. This is what worked for me, but you should experiment a little to see what works best for you. The pressure should be firm, but not too difficult to crank through.
3. Run it through your machine, and remove the die from your Art Square, checking to be sure that it cut the masking paper properly.
4. At this point, you have a lot of possibilities. You can color your Art Square with anything you like: paint, color pencils, ink, markers, etc. If your die is detailed and cuts multiple places, you can choose which pieces to pull off, and color multiple areas separately.
 |
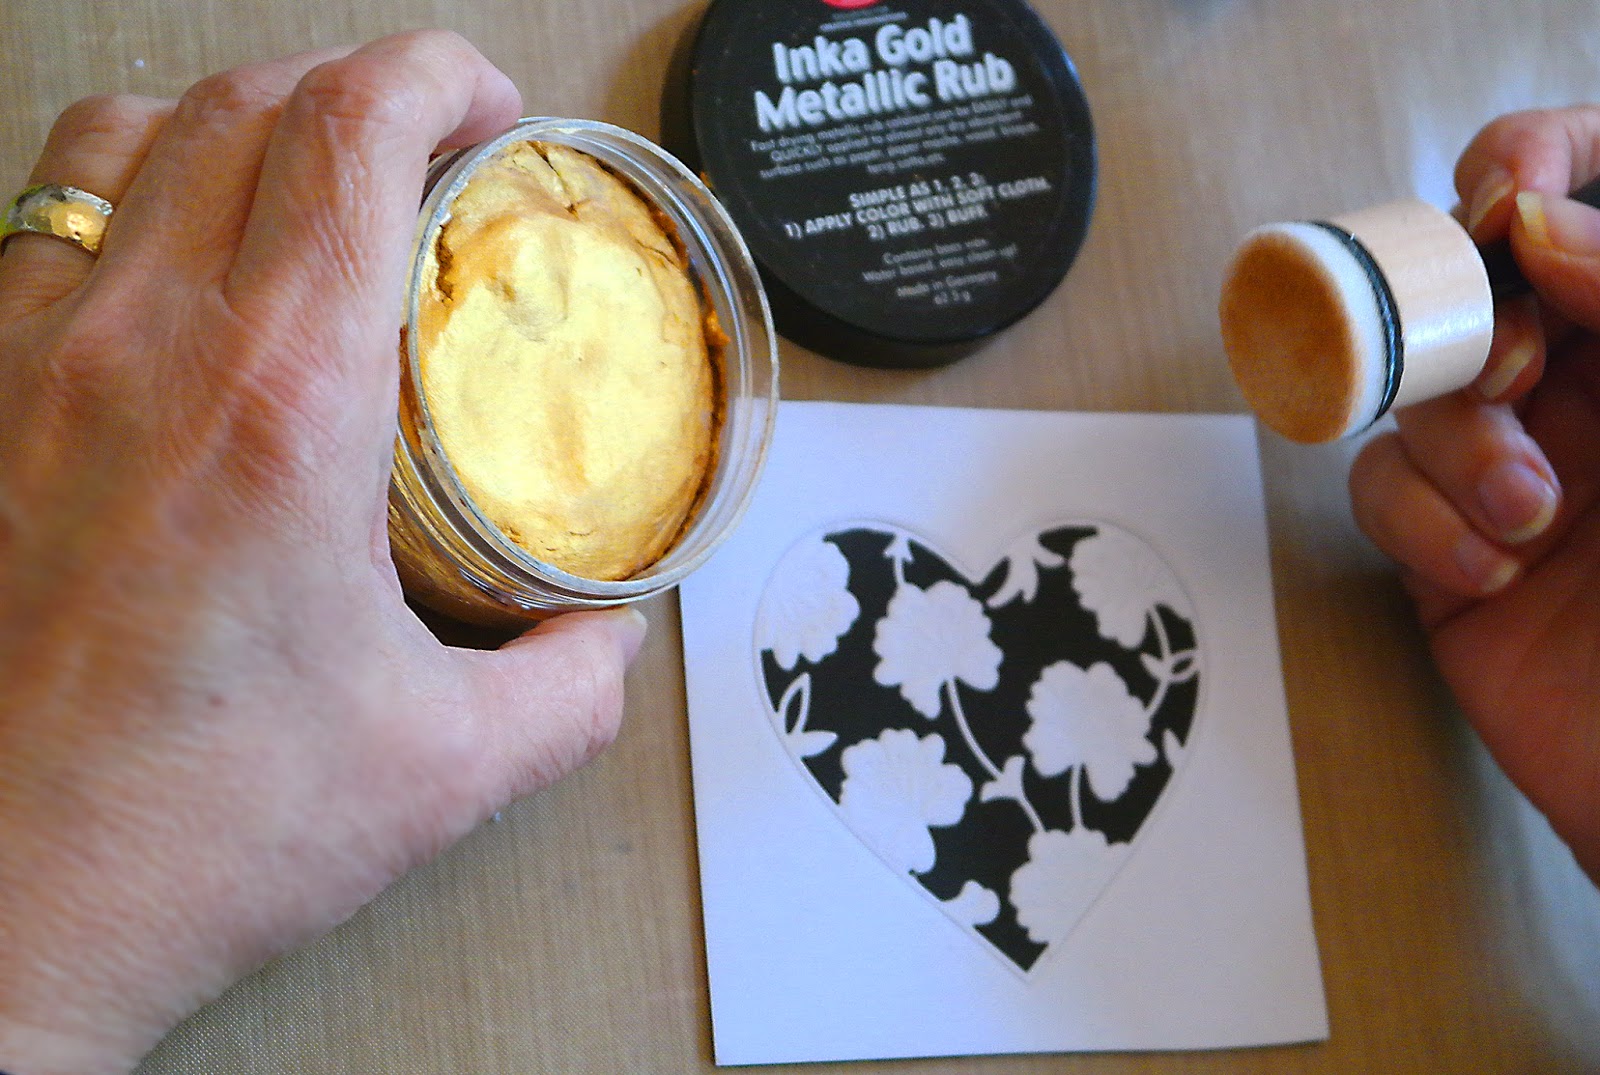
| Peeling the masking paper off the background |
5. Peel off selected sections of your masking paper, and color with your desired medium. In this case, I chose Inka Gold, in Gold and Magenta colors. I peeled the masking paper off the background areas, and applied the Gold Inka Gold with a round blending tool (these work great with Inka Gold).
 |
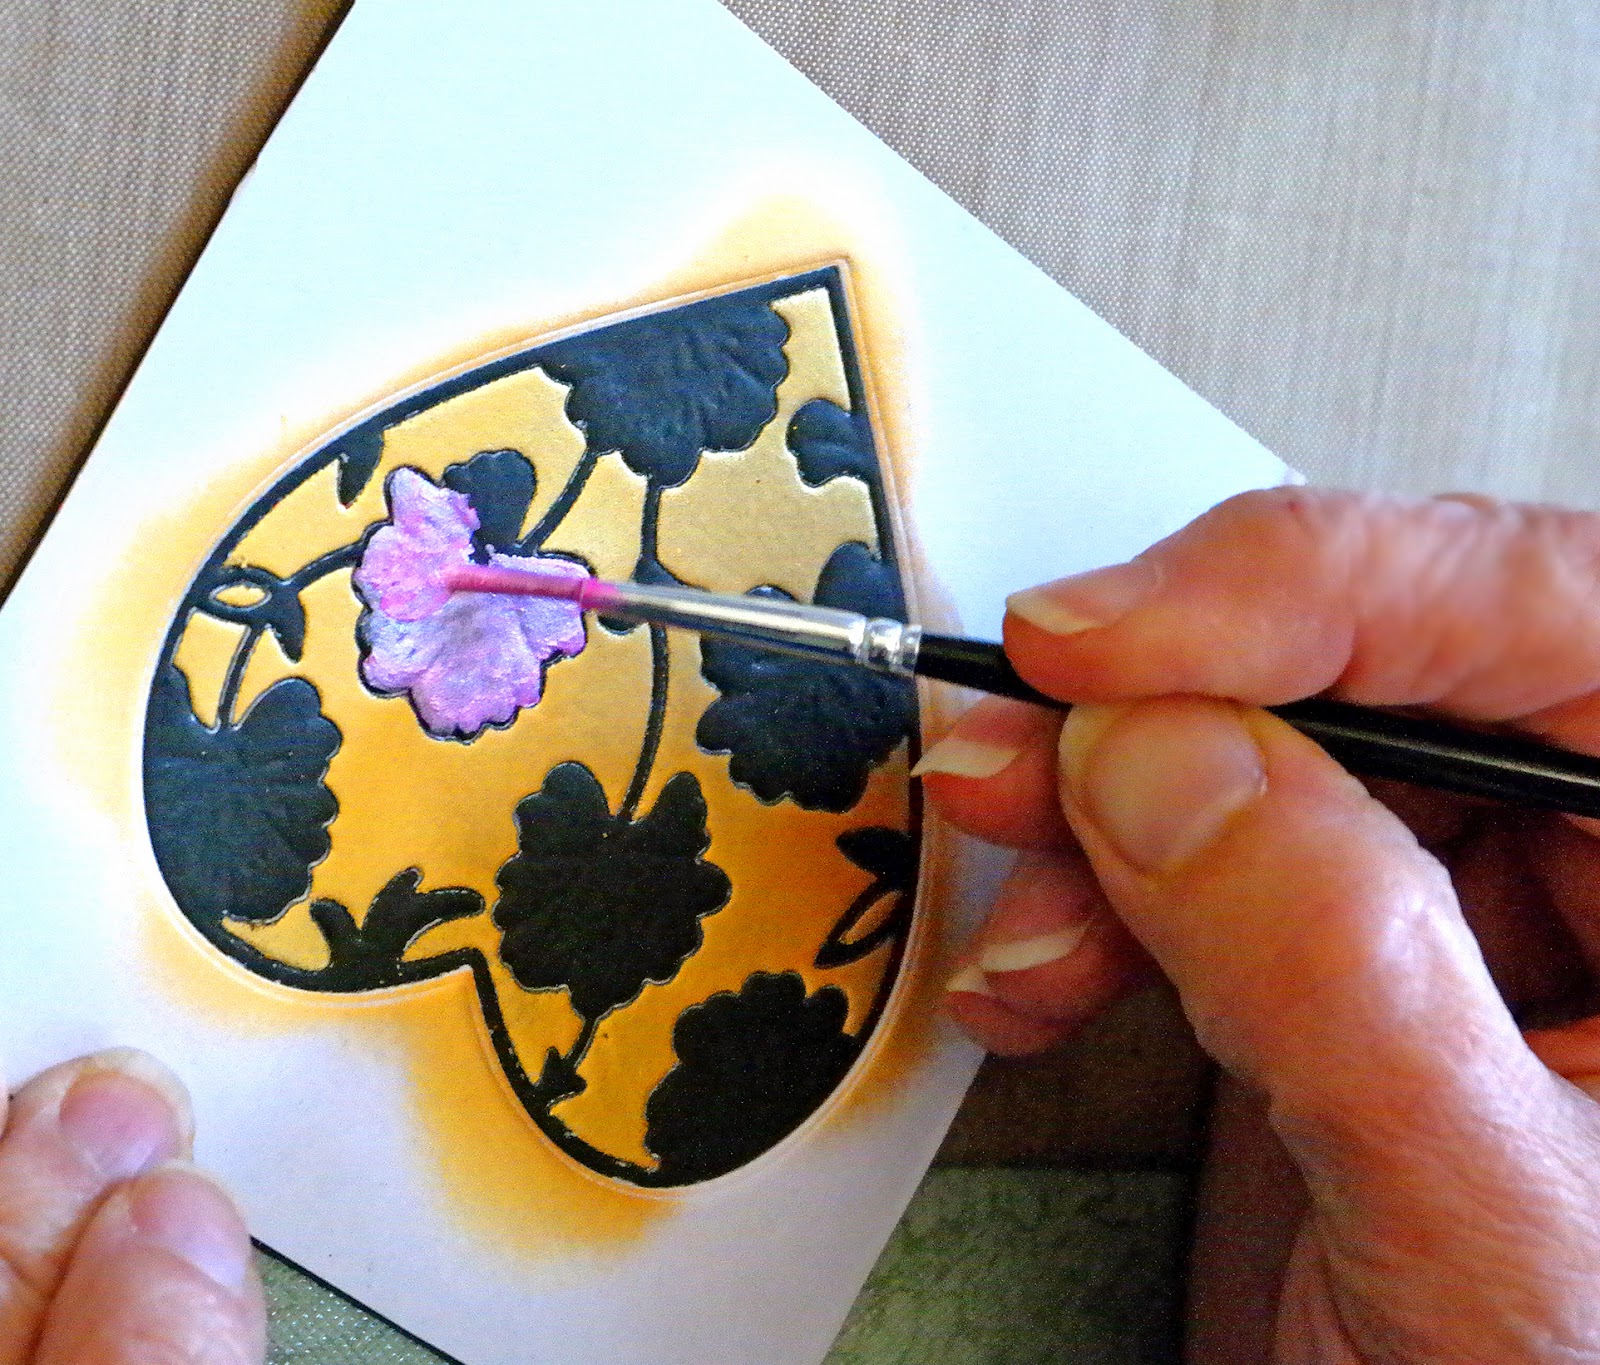
| Removing masking paper from the flower pieces |
6. When I peeled the paper off the flowers, I had to use something smaller to color with because the mask was already off the background area. I decided to water down a bit of the Magenta inka Gold and use it as paint. Since it's a water based product, this works beautifully. I painted the flowers with the Magenta Inka Gold, and when it dried, I buffed the whole heart and added a little sparkle with sparkle pens.
This technique is stunning with any color or size of Art Square, and is just another way to use your dies in a beautiful way. I hope you try it!
Magenta Stamp Used
| 07.731.I |
Other Products Used:
Memory Box die Vernay Heart 99080
Inka Gold: Gold and Magenta
Inkadinkado Masking Paper
Big Shot die cutting machine
Ranger round blending tool
Ranger Black Sparkle embossing powder
Versamark Ink


Excellent tutorial! Love the Inka gold paste!.
ReplyDeleteMerci Carole!
DeleteStunning! turned out beautifully, and Jim is an excellent photographer!
ReplyDeleteThank you Debbie!
DeleteAbsolutely gorgeous! What a great way to use the art squares!
ReplyDeleteThank you Michael! I love using Art Squares in my projects; they are so versatile!
ReplyDeleteThis turned out beautiful I am like you. I may have stopped at the black and white., two of my three all time favorite colors. Thank you.
ReplyDeleteThank you.....lovely
ReplyDeleteI love what you have done. I just have a question??? What is the masking paper? Sorry, I am so new to this.
ReplyDeleteThank you! Masking paper is lightweight paper that is slightly sticky on one side. It's also called stamping mask paper. Inkadinkado makes some that you should be able to find. If your local store doesn't carry it, you can get it on Amazon. I'll try to do some future tutorials on masking.
Delete