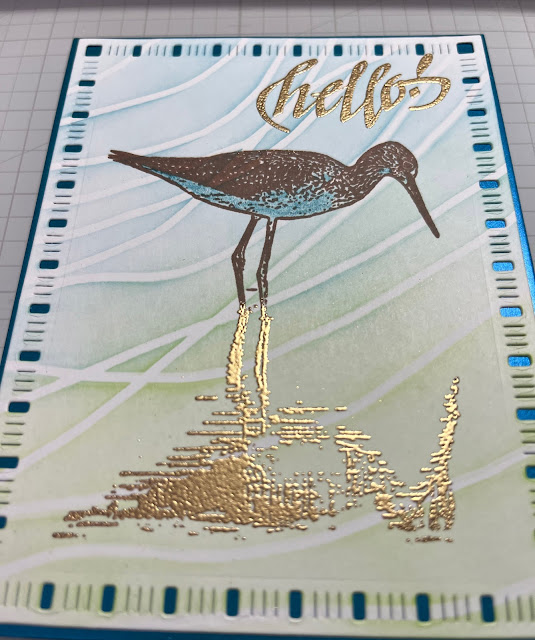
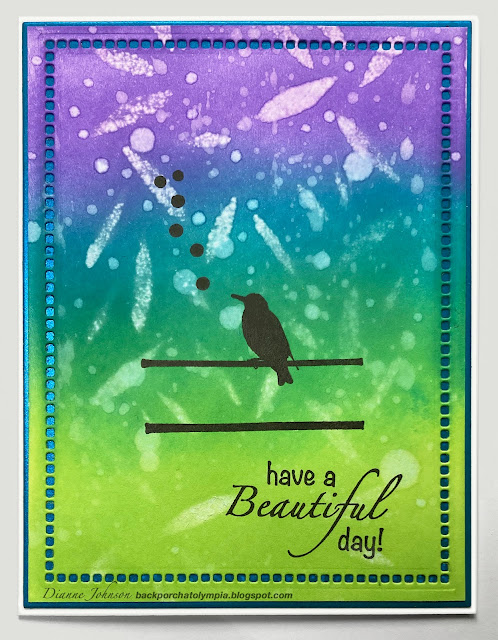
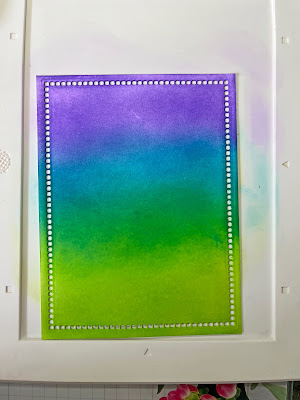
Ok, confession time. I bought a Glimmer hot foil machine a couple of years ago (yes, years) and never used it until now. In my defense, a few things have happened in the last couple of years. Also, I have watched every YouTube video about it, and collected a lot of Glimmer plates and Glimmer foil (different from toner foil) to use with it. I finally told myself that I am not allowed to buy any more Glimmer plates until I actually use this machine. I also found some of the right kind of Hammermill cardstock at Amazon recently, so here are my first two cards.

This first one is for my son-in-law's Dad. His birthday is 6 days before my Son-in Law's, so I usually make their cards close to the same time. The really strange thing about this one is that the foil I used mostly looks gold in person. The color is Aura and it can have a rainbow look to it depending on the light and the angle you are looking at it. This is how it looked when I snapped the photo. Here's another shot that I think shows the gold a little better, but still shows some rainbow hues.
This was done with a Spellbinders Glimmer plate called "Birthday Hugs and wishes." I had a really nice leftover piece after I did this panel, so I decided to do a second card with it.
I recently got this solid round Glimmer plate from Spellbinders. This is why I had to use my Glimmer machine - I broke my promise of not buying any more plates until I used it. But I had to have this solid round one. I can see using it a lot, especially in using a leftover piece of foil like this one. Spellbinders also makes solid oval, solid square and solid rectangle plates. Pinkfresh Studio makes a large solid plate as well.
By the way, I get confused about the order for layering on the Glimmer machine sometimes because I also like to do toner foiling and it's different. If you do it wrong, you can foil your hot foil plates (which doesn't damage them, but is discouraging). If you have the same issue, here is the correct layering order (sandwich) for the Glimmer machine:
foiling plate, front side up
Glimmer foil, pretty side down (against the plate)
cardstock
2 Glimmer machine plastic plates
There are a LOT of videos on YouTube on how to use this machine. Some of the best ones are by
Jennifer McGuire. Sometimes you might need a shim. I didn't need one for these examples.
Once I had the round plate and leftover foil positioned properly with my cardstock, I heated it up and ran it through my BigShot, and this is what I got! I love that even though I didn't use the special Hammermill cardstock on this panel (this was Neenah Solar White 80#, with Distress Ink on it) it still worked perfectly.
And yes, this gold circle on this left panel is the exact same piece of foil that is in the Happy Birthday sentiment on the panel to the right.
This is my Son-in Law's card.
I'm so pleased that things turned out so well in my first foray using the Glimmer machine. After watching numerous videos I was afraid it would be much harder to get good results. I shouldn't have waited!
Products Used:
Spellbinders Glimmer machine
Spellbinders GLP-144 Birthday Hugs & Wishes hot foil plate
Spellbinders GLP-317 Solid Circle hot foil plate
Spellbinders Glimer Foil GLF-027 Aura
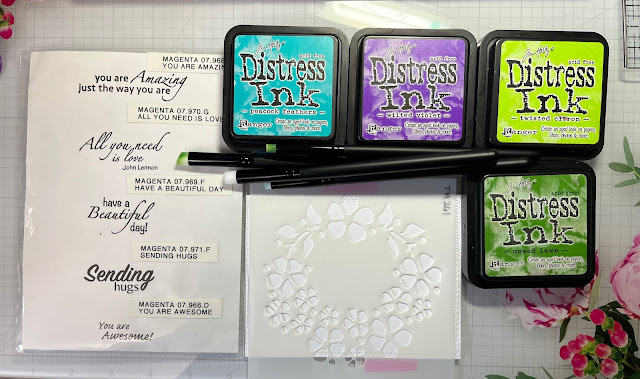
Distress Inks: Wilted Violet, Peacock Feathers,
Twisted Citron
Poppy 1263 Boddington Tree Border (discontinued)
The Greetery Crimped Frame die set
Hammermill Premium Cover Copy Color 100# cardstock
Neenah Solar White 80# cardstock
Stardream Fuse Fairway 105# cardstock
So Silk Glamour Green Cardstock
Memory Box Self Adhesive Fairy Jewels


