Pages

Friday, January 30, 2015

Pico Embellisher Inlay

In conjunction with the Art 'n Soul Newsletter Technique of the week, here is a step by step tutorial of this fun technique called Pico Embellisher Inlay.  


I am definitely a fan of the Irresistible Pico Embellishers.  This product is a water-based pigment in a fine line applicator, that when dry, acts as a dimensional resist.  The applicator bottles come with a wire that fits into the tiny metal dispensing tube, and keeps the tube from clogging.  When using this product, it's a good idea to keep a piece of scrap paper on hand.  Shake the bottles well to be sure that the pigment is well mixed.  When you first start to dispense the product, do it onto the scrap paper, so that you can get out any air bubbles that result from shaking the product.  When the product starts through the tube, it should go smoothly.  If you stop and then start again, always start on the scrap paper first.


For this inlay project, I wanted to apply the Irresistible product into the open places in a die cut.  I chose a Memory Box Die, the Floral Heart (98776), and the Neon colors of Pico Embellishers:  Electric Pink, Electric Blue, Electric Purple, and also the metallic Gold.

1.  I took a pre-made A2 card made from a red shimmer cardstock, and cut the die out of the top center of the card.

2.  I covered the back of some white cardstock with Stick-It double sided adhesive, and cut the heart out of this as well.

3.  I set aside the red die cut, and lined the insides of the red card with white cardstock, cut slightly smaller than the card.  The white covered the opening left by die cutting the heart out of the red card.


4.  I took the release paper off of the white die cut, 


and pieced it into the opening that was left in the red card, 


burnishing it down well onto the white piece that covered the opening.  


5.  Working with one color at a time, I filled each open space in the die cut with the Pico product.  It really did not take very long to fill all the spaces.


Testing the product on a scrap piece of paper to be sure the air bubbles were out


6.  One of my favorite Magenta sentiments "Thanks for Touching My Heart" (07.731.I) was added at the bottom in Versamark, and embossed with White Diamond. 

This particular die cut had a lot of open spaces to fill, but you may have other dies that have less.  The Pico Embellishers work well at dressing up die cuts.  I hope you give this technique a try!

Magenta Stamp Used:  07.731.I  Thanks for Touching My Heart
Memory Box Die Floral Heart 98776
Pico Embellishers Used:
Electric Pink, Electric Blue, Electric Purple, and also the metallic Gold
Other Materials Used:
White Diamond Embossing Powder by Judikins
Stick It double Sided Adhesive

Monday, January 26, 2015

Christmas and New Year's in Iceland

I've been back nearly 3 weeks, and I have been asked several times if I have posted any pictures of our Christmas in Iceland to my blog.  Since this is mostly a paper craft blog, and not a travel blog, I didn't post, but since I posted some in March, and since people have asked, I will post a few pictures here.  (When I say a FEW, this a small sampling of the pictures I took!)  Suffice it to say that the two weeks we spent in Iceland over Christmas and New Year's were magical.

We arrived on Christmas Eve, and in Iceland they have a lovely custom of visiting family and friends on December 24th, and bringing presents.  When the church bells ring at 6:00, the present openings begin, and at least where we were, this meant presents were opened one by one so that all could enjoy.  We stopped opening for a while to have a lovely dinner, and it was all so much fun.  The best part was that after dinner and presents, the Northern Lights paid us a visit on Christmas Eve.  Perfect!

The next day we all went to our dear friends Jón and Inga's house for a beautiful dinner with family.  Jón is our son in law's grandfather, and Inga, his wife, is the one who makes the lovely stone people that I photographed for you all in March when we were there before.  You can view that post here.  After dinner we went to our son in law's other grandfather's house and had a wonderful time with that side of the family, including a rousing game of bingo!

The rest of our visit there was as wonderful as the first two days, including a lava cave tour (one of our Christmas presents from our son in law's mom), and probably the most amazing New Year's Eve I have ever experienced.  Mixed in were lots of days driving around the countryside with Jón as our expert tour guide.  A highlight was getting to see a show by our son in law and his band.  We will never forget this trip!


 This adorable tree was in our bedroom at the house where we stayed.  Just one of the many thoughtful touches.  We were wrapping presents that we brought, and the tags are some of the many that I brought there to put on the presents.  This is the closest I get to showing actual paper crafting on this post!


The beach in front of the house where we stayed.


My daughter and I walking along the beach


We were all walking down to get a burger.  It was pretty snowy and icy while we were there


Me going into the lava cave.  We had to slide in on our backs in the snow.  Let me just say Iceland Expeditions is the ONLY tour group to go with!  This was such an amazing gift.


One of the places we could stand up in the cave.  We were looking at the lava drip formations


Bonfires AND the most massive fireworks show I have ever seen at New Year's Eve.  Magical!


Jón made me pose by this Natural Hazard sign...hm.


Coming out of a restaurant that was built at a dairy farm.  The owner/chef came out to watch his daughters practice driving in the snow


Outside the Viking Museum

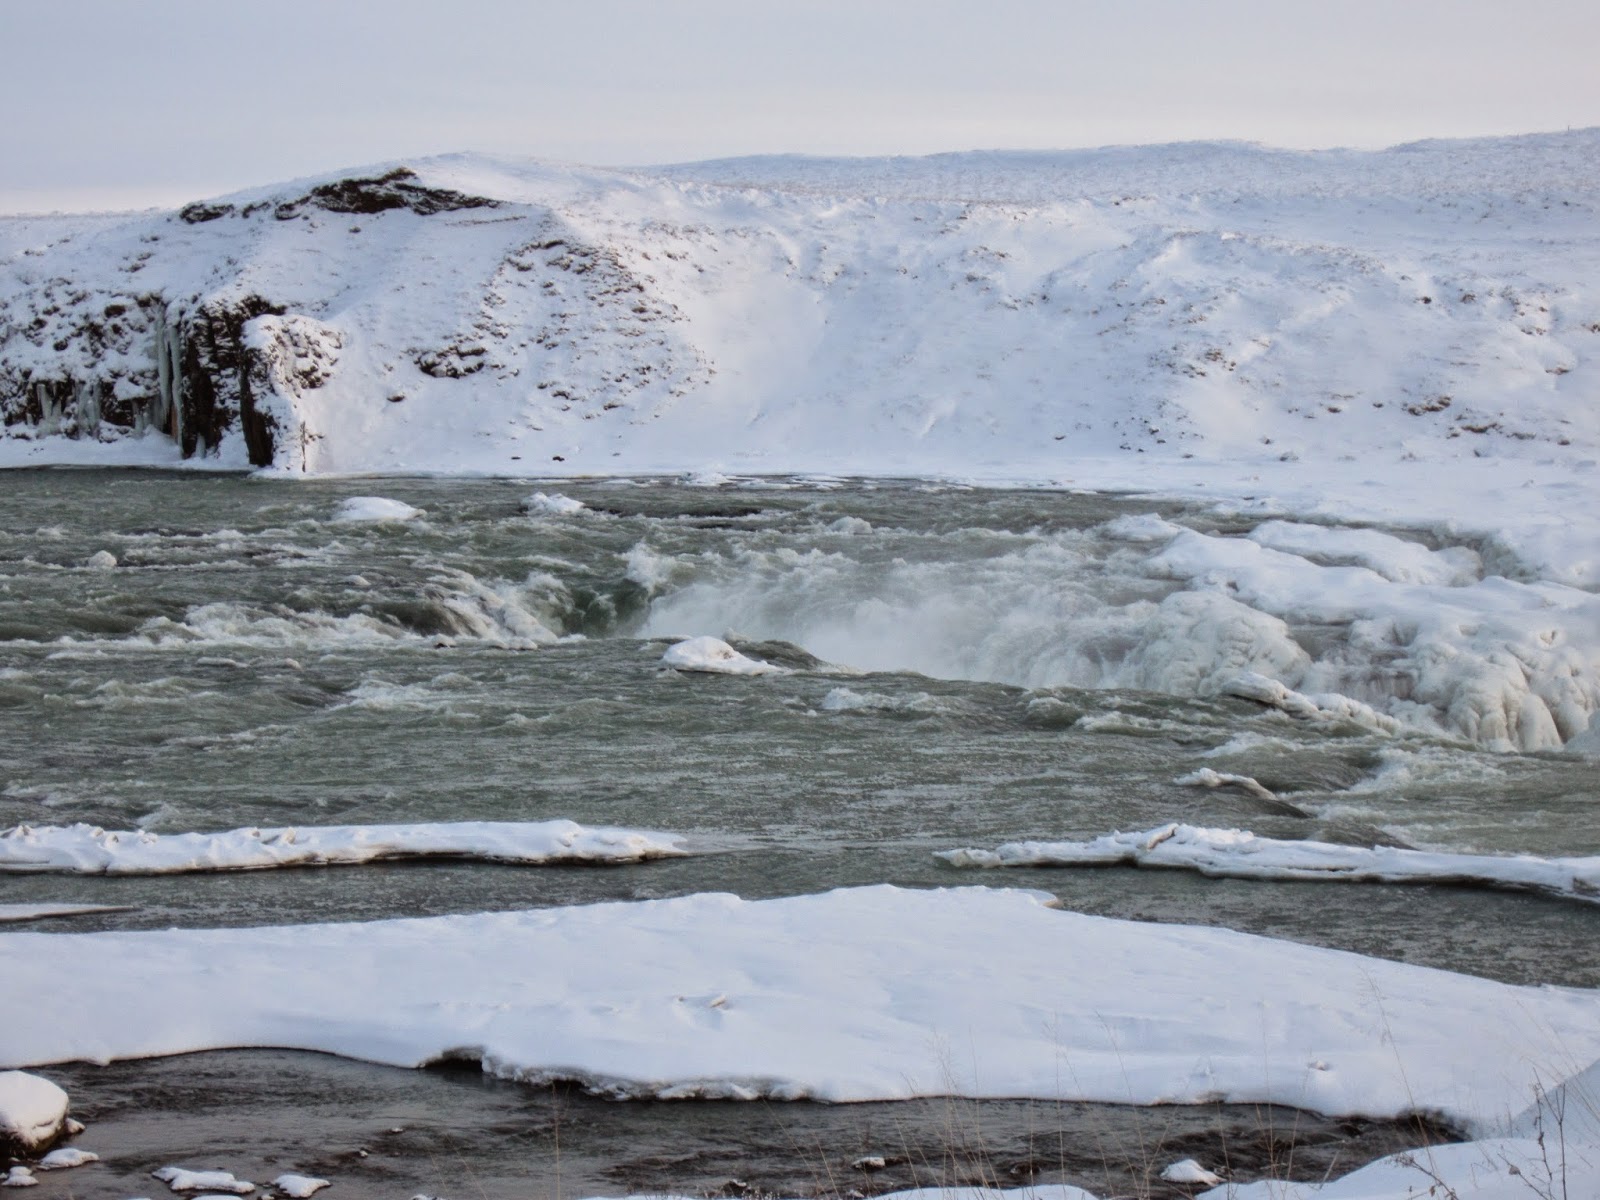
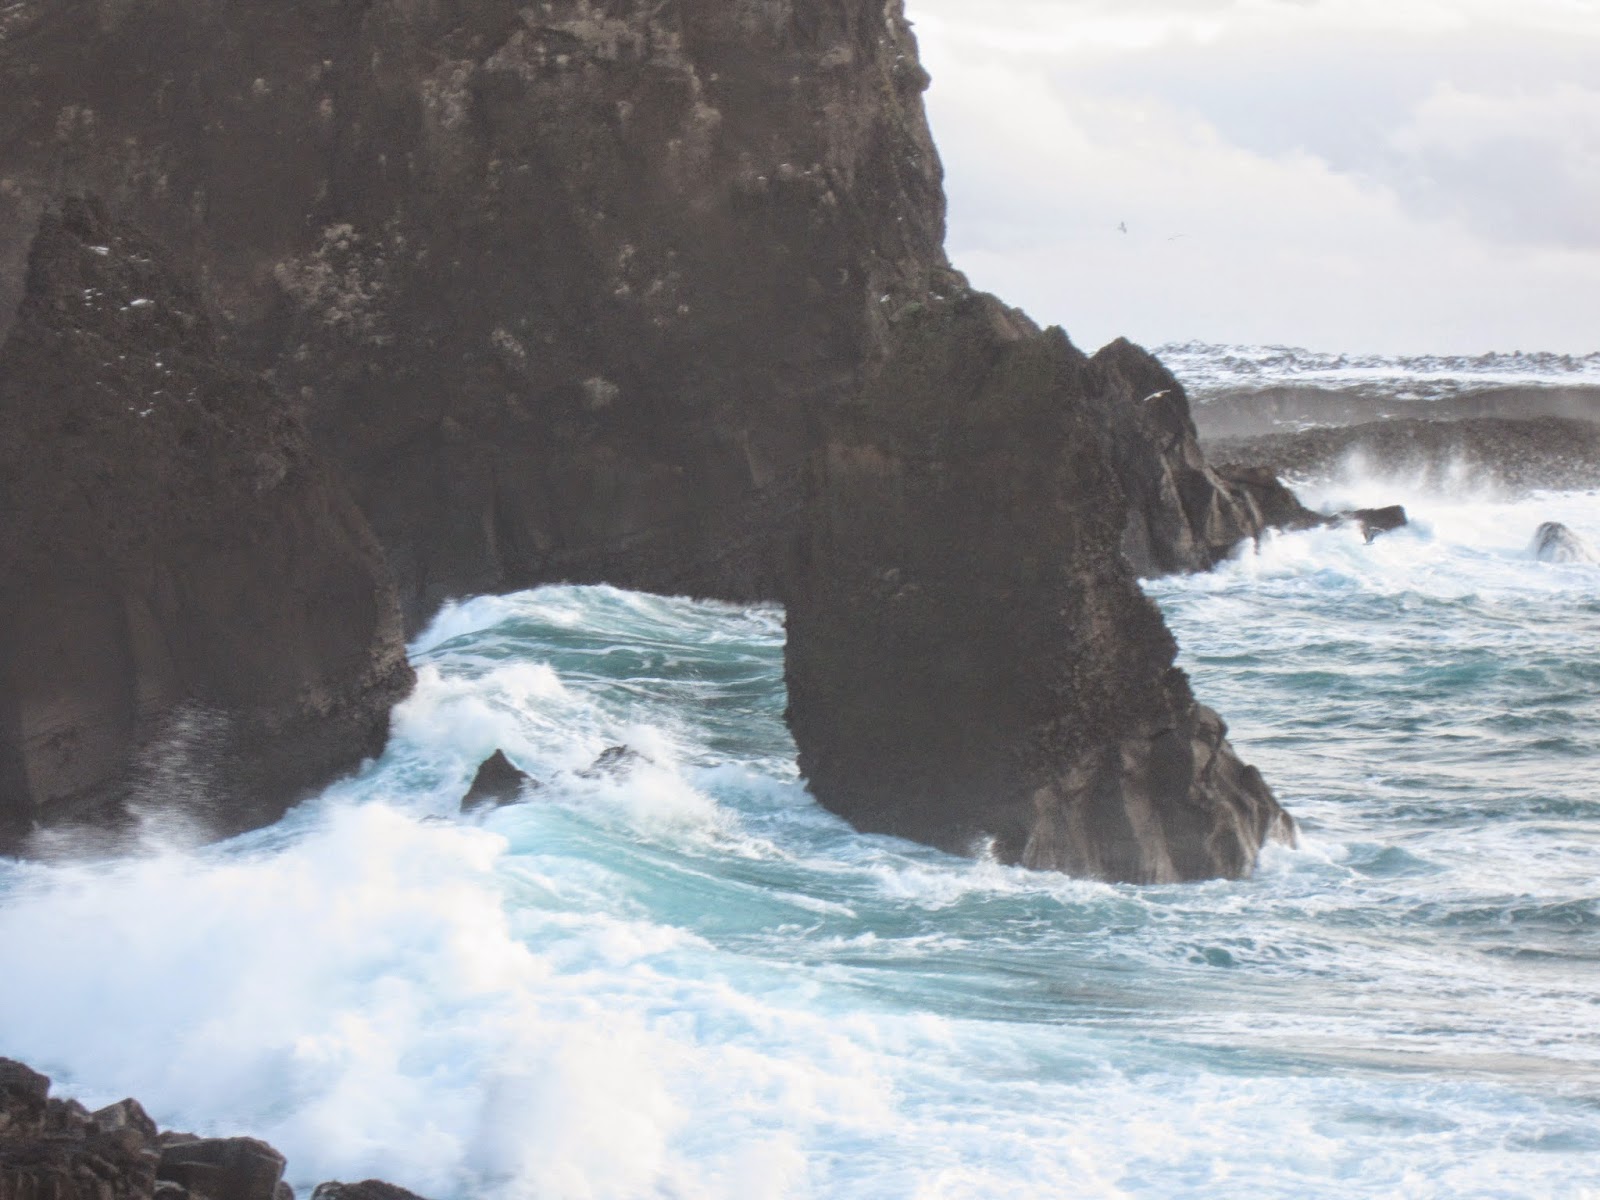
The rest of these pictures were taken over days of traveling around and taking in the natural wonder of this beautiful country


Near the Blue Lagoon.  The water was SO blue


At the beach


Geothermal area at Reykjanes - one of the many.  It reminded me of Yellowstone Park


Jón never gave up in his quest to sight the Northern Lights that we could photograph, and on the last night there we were successful

I hope you enjoy these pictures!  I miss being there, and I will go back absolutely as soon as I can.  In the meantime I am trying to talk friends and family there into visiting us here in the lovely Pacific Northwest.  Wouldn't they love our summers?

Thursday, January 15, 2015

Technique of the Week - Ink and Salt

In conjunction with the Art 'n Soul weekly Newsletter, this post is an expansion on the latest Technique of the Week article with a tutorial on the Ink and Salt technique.  This technique was brought to us beautifully by Magenta Design Team member Carole Dion, through the Magenta Newsletter.  If you have not signed up for the Magenta Newsletter, you should definitely do so.  It showcases many fabulous techniques, and it is not to be missed.  You can sign up on the Magenta blog here.  Also, here on my blog, look on the right hand side and scroll down a little to find links to the other Magenta Design Team members.  Carole is listed there.  Check out her blog, she is so very talented.

Last things first, here is the card I made with this great technique


I made this Birthday card for one of my new Iceland relatives, using salt from the Reykjanes Peninsula of Iceland.  I LOVE how this background turned out.

This technique uses coarse sea salt sprinkled onto watercolor paper which has been sprayed with water and ink.  Since I am a collector of different types of salt, I wanted to see if the different types would have an affect on the appearance of the final piece.  I used 4 types of salt:  Noirmoutier Coarse Sea Salt from France; Hawaiian Kalaea Sea Salt (sort of a Sienna color); Hawaiian Sea Salt with Activated Charcoal (black); and a newly acquired addition, Saltwerks Coarse Sea Salt from the Reykjanes Peninsula of Iceland (close to my heart).


First I taped some pieces of Tim Holtz watercolor paper, smooth side up to some plastic cutting boards.  I also used this as a test of tape.  I have been using painter's tape, but I find that if I'm not very careful when taking the tape off, it sometimes tears my paper.  I have started using micropore tape, which is a medical tape that I obtained on Amazon, courtesy of a recommendation from Jennifer's McGuire's blog (see my list of blogs I like to visit).  I did find that the micropore tape worked better at not sticking too hard to my paper.


I sprayed the 4 panels liberally with water mixed with Perfect Pearls powder.  (1/4 tsp per 2 oz of water).  Those of you who know me know that I don't usually use just plain water - I love the shimmer that the Perfect Pearls gives.


For the ink and water sprays, I chose to use spritzers that I had previously made with my favorite colors of Distress re-inkers (Peacock Feathers; Mustard Seed; and Picked Raspberry).  I have also mixed some Perfect Pearls powder into the spritzers to create beautiful pearly sprays.  A tutorial on creating your own pearly sprays is on my blog here.


I started with Picked Raspberry and I tried to spray in a different place on each panel.


Next I used Peacock Feathers


Last was Mustard Seed


I started adding the salt, and first was the Grey salt from France


Second was the sienna colored salt from Hawaii


Then the black salt from Hawaii


Last was the pure white sea salt from Reykjanes in Iceland


All of the salt must be left on the paper until they dry completely.  The salt reacts with the ink and draws it up.  I love the mottled look this gives.  I also love the shiny effect the Perfect Pearls gives to each piece.  It's hard to see in the pictures, but it's beautiful in real life.


After they were all dry, I scraped off the salt from each piece.  I found that they were all different.  The Hawaiian salts especially left color residue on the panels.  I love them all!

To complete the Birthday card, I used a Magenta Stamp (Multilingual Happy Birthday 07.907.L) and stamped in with Versamark Ink and embossed it with my favorite embossing powder for sentiments - Ranger Black Sparkle.  This embossing powder glitters with every color in the rainbow - it's beautiful in real life!


I mounted the panel onto a piece of So Silk paper in Beauty Pink, and affixed the piece to a white A2 size card.

I'm saving all of the colored salt, because Carole said she would show us something to do with it in another Magenta newsletter.

I hope you try this technique, it's fun, easy and rewarding.

Materials Used:
Magenta stamp:  Multilingual Happy Birthday 07.907.L
Distress Ink re-inkers:  Picked Raspberry; Mustard Seed; Peacock Feathers
Versamark Ink
Perfect Pearls powder
Sea Salts:  Noirmoutier Grey Course Sea Salt; Hawaiian Kalaea Sea Salt; Hawaiian Sea Salt with Activated Charcoal; Saltwerks Sea Salt from Reykjanes Peninsula in Iceland
Ranger Black Sparkle Embossing Powder
Tim Holtz Watercolor paper
So Silk Beauty Pink paper


Thursday, January 8, 2015

Magenta Spring 2015 Supplement

The new Magenta Spring 2015 Supplement is here!!
These are some of my favorite sentiments from the new collection


If you are having any trouble viewing the catalog, please go the Magenta blog here