Pages

Showing posts with label Magenta 07.462.I Merry Christmas. Show all posts

Friday, October 8, 2021

Super Saturday at Magenta: Zig Watercolor Merry Christmas

Hi everyone! Still making Christmas cards - they are one of my favorite kinds of cards to make. Today I'm using another new stamp from Magenta called Christmas Foliage, along with an old favorite sentiment. My card is also on the Magenta blog and you can see that post here.


 I stamped this beautiful image onto Tim Holtz watercolor cardstock that I had die cut to size with The Greetery Nordic Frames die. By the way, I love this die for Christmas cards, it just seems festive.

I used Versamark ink to stamp, and embossed the image with gold embossing powder. I chose two colors of Zig Clean Color markers. I dotted the red into the berries, and used a water brush to pull out the green.
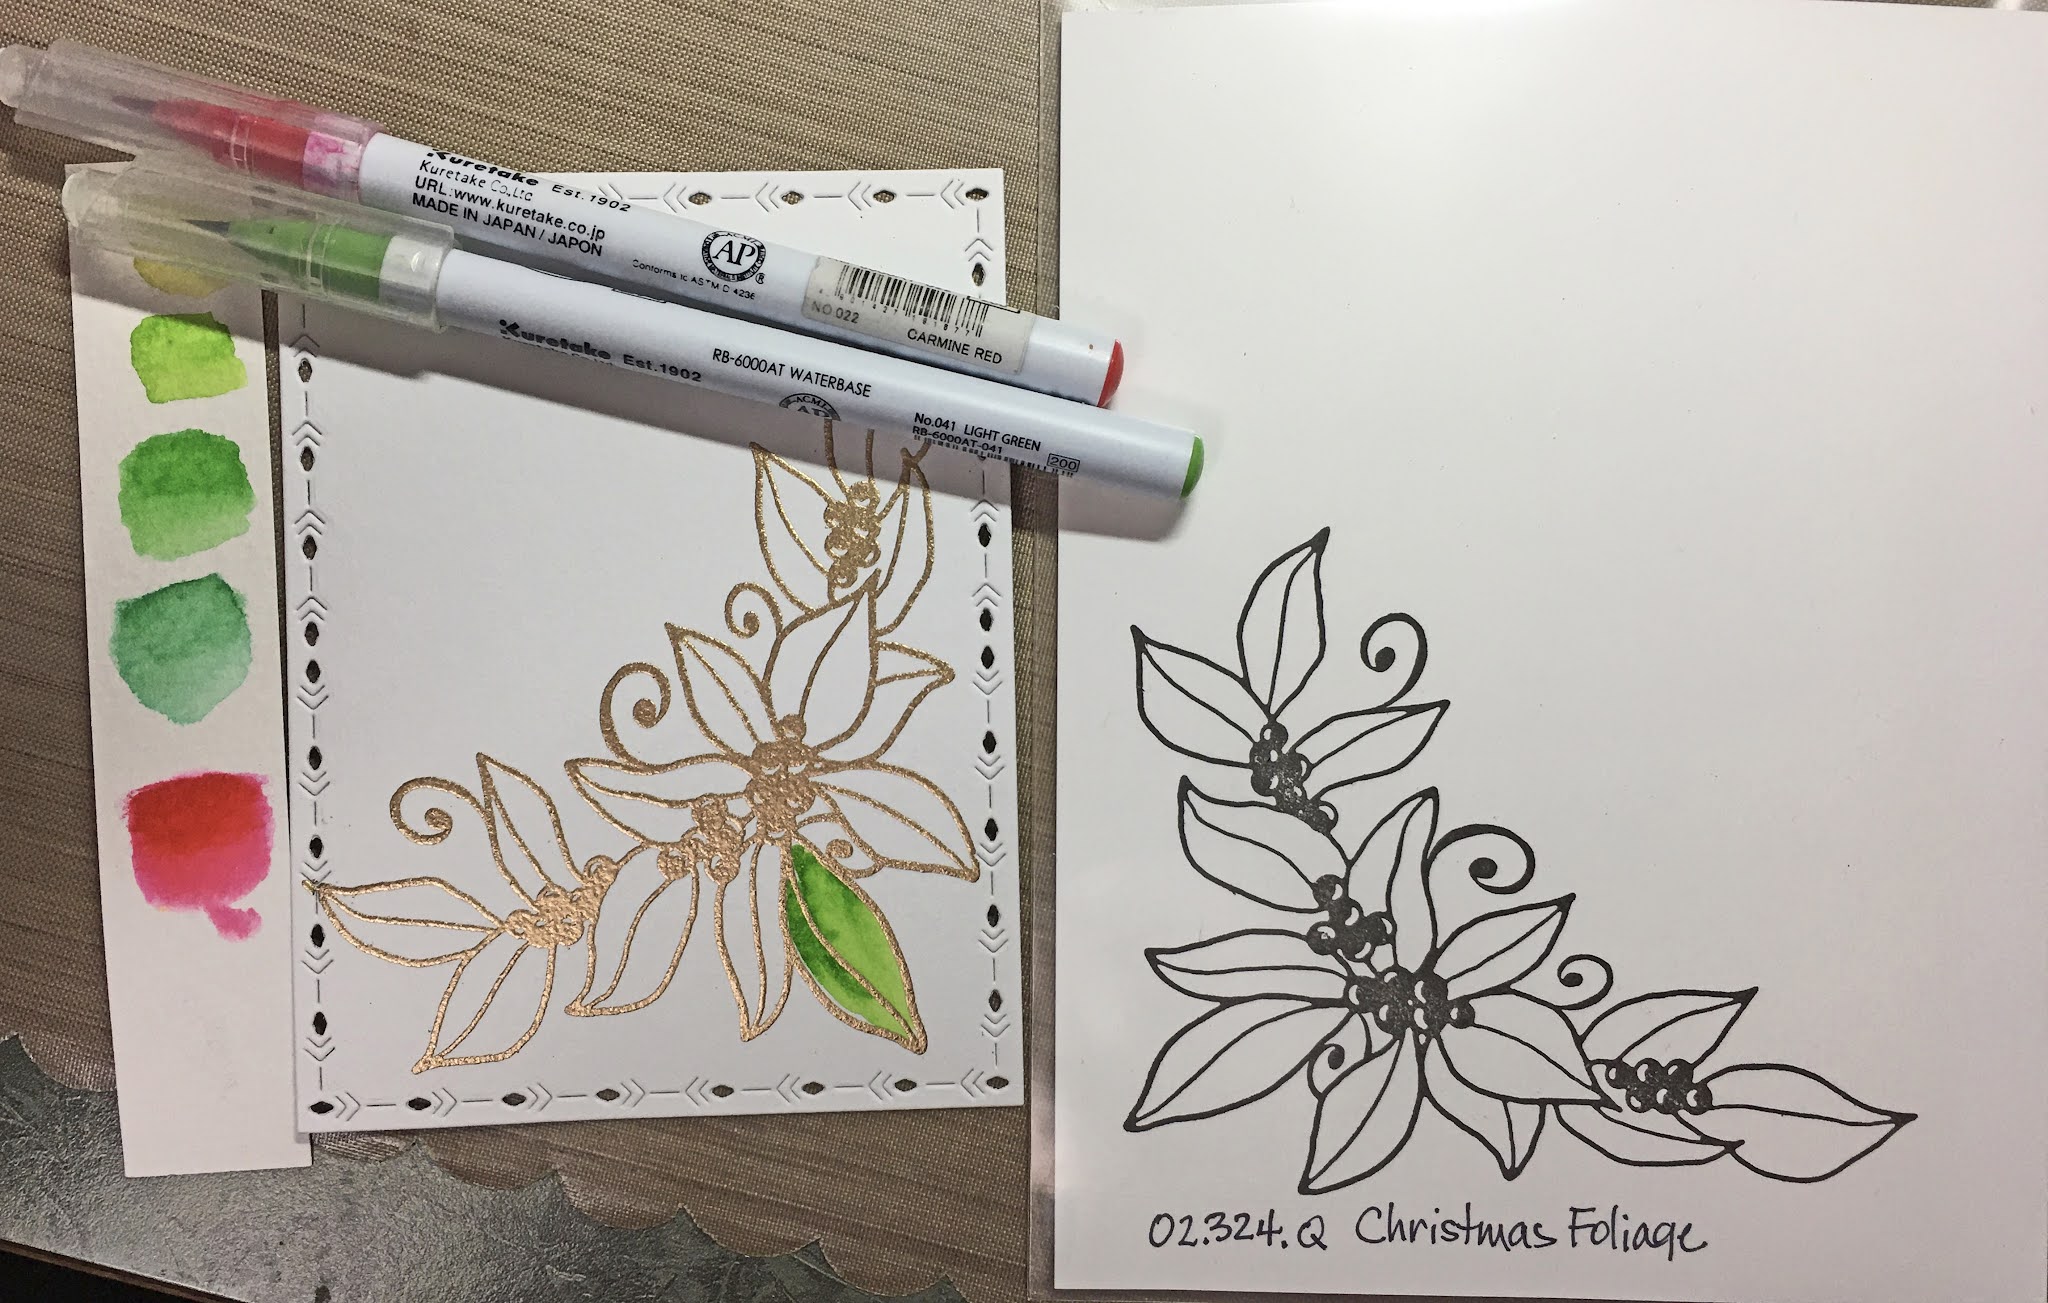

This is how I choose the colors I want to use. I ended up using that middle green (041 Light Green), and the red is 022 Carmine Red.

At the end I stamped the Merry Christmas sentiment in Versafine Clair Glamorous and scattered a few Pinkfresh pearls.

This card was super simple and fast, and it would be easy to make multiples.

Magenta Products used:

Other Products used:

Zig Clean Color Markers: 041 Light Green,
022 Carmine Red
Versafine Clair Glamorous
Versamark ink
Ranger gold embossing powder
The Greetery Nordic Frames die
PTI Poppy Red cardstock
Tim Holtz Watercolor cardstock
Neenah Solar White 110# Cardstock
Pinkfresh Studio Gold Pearls

Friday, December 8, 2017

Christmas Mini Masterpieces

I have taken a number of classes from the amazing Sally Penley, and my favorites are still the Mini Masterpiece classes. The short description of the Mini Masterpieces is that you create a master sheet of artwork, using several mediums (these were done primarily with acrylics and a sharpie on watercolor paper) and then you cut it up into 2" squares. If you take Sally's class, she gives you some cards onto which she has already penned some of her amazing calligraphy. When we took the Christmas class, she said that we could reproduce her images to make our Christmas cards. It is my very great hope that someday Sally's beautiful calligraphy will be available in stamps.

If you are local, I highly recommend taking a class with Sally - honestly all of her classes are amazing and you will learn so much. You can access her website here to sign up for her email list and also to purchase some of her beautiful work.


The 2" square mini masterpiece was mounted onto a 2.25" square of Hopsack Red 90# paper from The Paper Cut. The squares were mounted onto a white panel of 80# Neenah Solar White cardstock on which the Joy image was printed. The white panel was die cut with Lawn Fawn die LF768 Small Stitched Rectangle Stackables which makes a nice stitched rectangle that is 3.75" x 5". The white panel was mounted onto the Hopsack Red cardstock that was cut to 4" x 5.25", and that was mounted onto a base card of Neenah Solar White 110".

Although the Mini Masterpieces are my work, I give credit to Sally for the card designs and of course the calligraphy. If you are not local, you can still make similar cards and use a pretty sentiment stamp that you may already have. I have often thought that the Magenta Merry Christmas stamp 07.462.I would look good on this card design. You can link to the Magenta store by clicking on this image.


I made 3 Mini Masterpiece Christmas cards this year. I will post more soon!

Sunday, December 3, 2017

Blue Christmas

As promised, here are the Christmas cards I did using the blue Prismacolors. I did try reds on one, but didn't like it as well. I think the reds would look better on lighter colored cardstock.


I love this stamp set from Simon Says Stamp called Winter Flowers. There is only one Poinsettia stamp in it though, and the leaves are separate. For this arrangement I had to stamp the 3 flowers separately, using masks, and I embossed them with gold embossing powder. The 5 leaves were also stamped separately, as was the sentiment. The sentiment is my favorite Merry Christmas stamp from Magenta. I used the MISTI for stamping all of this, because I wanted to make 6 of them. I also made 4 cards with different layouts so that I would have 10 using this set. Once I had the stamping done, it was fun to sit and color them at night.

Here is the first one I did, and quickly decided that it was going to be too much coloring, although I do think it's pretty.


I have the die set that comes with these stamps, but didn't use them for these cards since I want them to be one layer and mailable. I might use the dies for some tags.


Here are a few variations I did with this set. The two on the left have the least amount of coloring on them, yet they are still very pretty. I do prefer the blues to the red though.

As an update on my Cobalt Turquoise pencil, here it is at the end. I can't sharpen it anymore, it's too small. I'm keeping it though. It's the first pencil that I actually used up.


I'll be back soon with another Christmas card design.

Magenta Stamp used:
07.462.I Merry Christmas

Other Products used:

Die-namics MFT-463 Blueprints 13 die set
Versamark ink
JudiKins Detail Gold Embossing powder
Prismacolor pencils:
PC1091 Green Ochre
PC1005 Limepeel
PC919 Spring Green
PC105 Cobalt Turquoise
PC905 Aquamarine
PC992 Light Aqua
PC929 Rose
PC924 Crimson Red
PC925 Crimson Lake
PC923 Scarlet Lake
Curious Metallic Super Gold 111# cover cardstock
Neenah Solar White 110# cardstock


Thursday, December 3, 2015

Magenta Christmas Inspiration

Magenta has a great Christmas Inspiration Look Book out, and you can look at all of the great cards by the Design Team, and designer Christine Gaudreault on the Magenta blog here.

Keep paging through and you will see two cards of mine in the book. They were each done with the same technique, but different stencils and colors.


The technique I used for these is stencil stamping. You can see a tutorial on this technique here, and another stencil stamped card here.

On the above card, I applied Distress Inks Worn Lipstick, and Festive Berries direct to water color card stock. I liberally sprayed MC16 Poinsettia Garden Mask with pearly water (2 oz water with 1/4 tsp Perfect Pearls Pearl powder), and applied the stencil to the panel. When dried, I stamped this beautiful Merry Christmas sentiment (07.462.I) and embossed with White Diamond embossing powder. The mat around the watercolor panel was made by applying Versamark directly to all 4 sides of the paper, and embossing with White Diamond. This provided a perfectly matching mat for my card. This was mounted onto a red card base, and various sequins were sprinkled on. Since I used a red card base, I cut a stitched rectangle using the largest die in the Memory Box Stitched Rectangles dies 30009.


The second card was done using the same technique, but with different colors. I used Abandoned Coral and Mowed Lawn Distress Inks, and the stencil is Magenta TM129 Poinsettia Border Stencil

Pink/Red Card
Magenta Products used:
07.462.I Merry Christmas
MC16 Poinsettia Garden Mask
Other Products Used:
Distress Inks: Worn Lipstick; Festive Berries
Versamark ink
Judikins White Diamond embossing powder
Perfect Pearls Pearl powder
Tim Holtz watercolor paper
Memory Box Stitched Rectangles Die 30009 (inside)
Various sequins

Red/Green Card
Magenta Products Used:
07.462.I Merry Christmas
TM129 Poinsettia Border
Other Products Used:
Distress Inks: Abandoned Coral; Mowed Lawn
Versamark ink
Judikins White Diamond embossing powder
Perfect Pearls Pearl powder
Tim Holtz watercolor paper
Silver Stardream paper
Various sequins