Pages

Showing posts with label Magenta 07.907.L Multilingual Happy Birthday. Show all posts

Friday, April 2, 2021

Magenta Super Saturday: Coloring with Watercolor, Zig Markers and Colored Pencils

 I'm over at the Magenta blog today, and you can see that post here.


I had a lot of fun making cards with the Magenta Large Flower Tile stamp today. There is a story behind the creation of this stamp, and I will share that with you at the end of this post.


I started out by stamping and gold embossing the image onto 4 of the different pieces of cardstock. On the 5th, I stamped in white pigment ink.


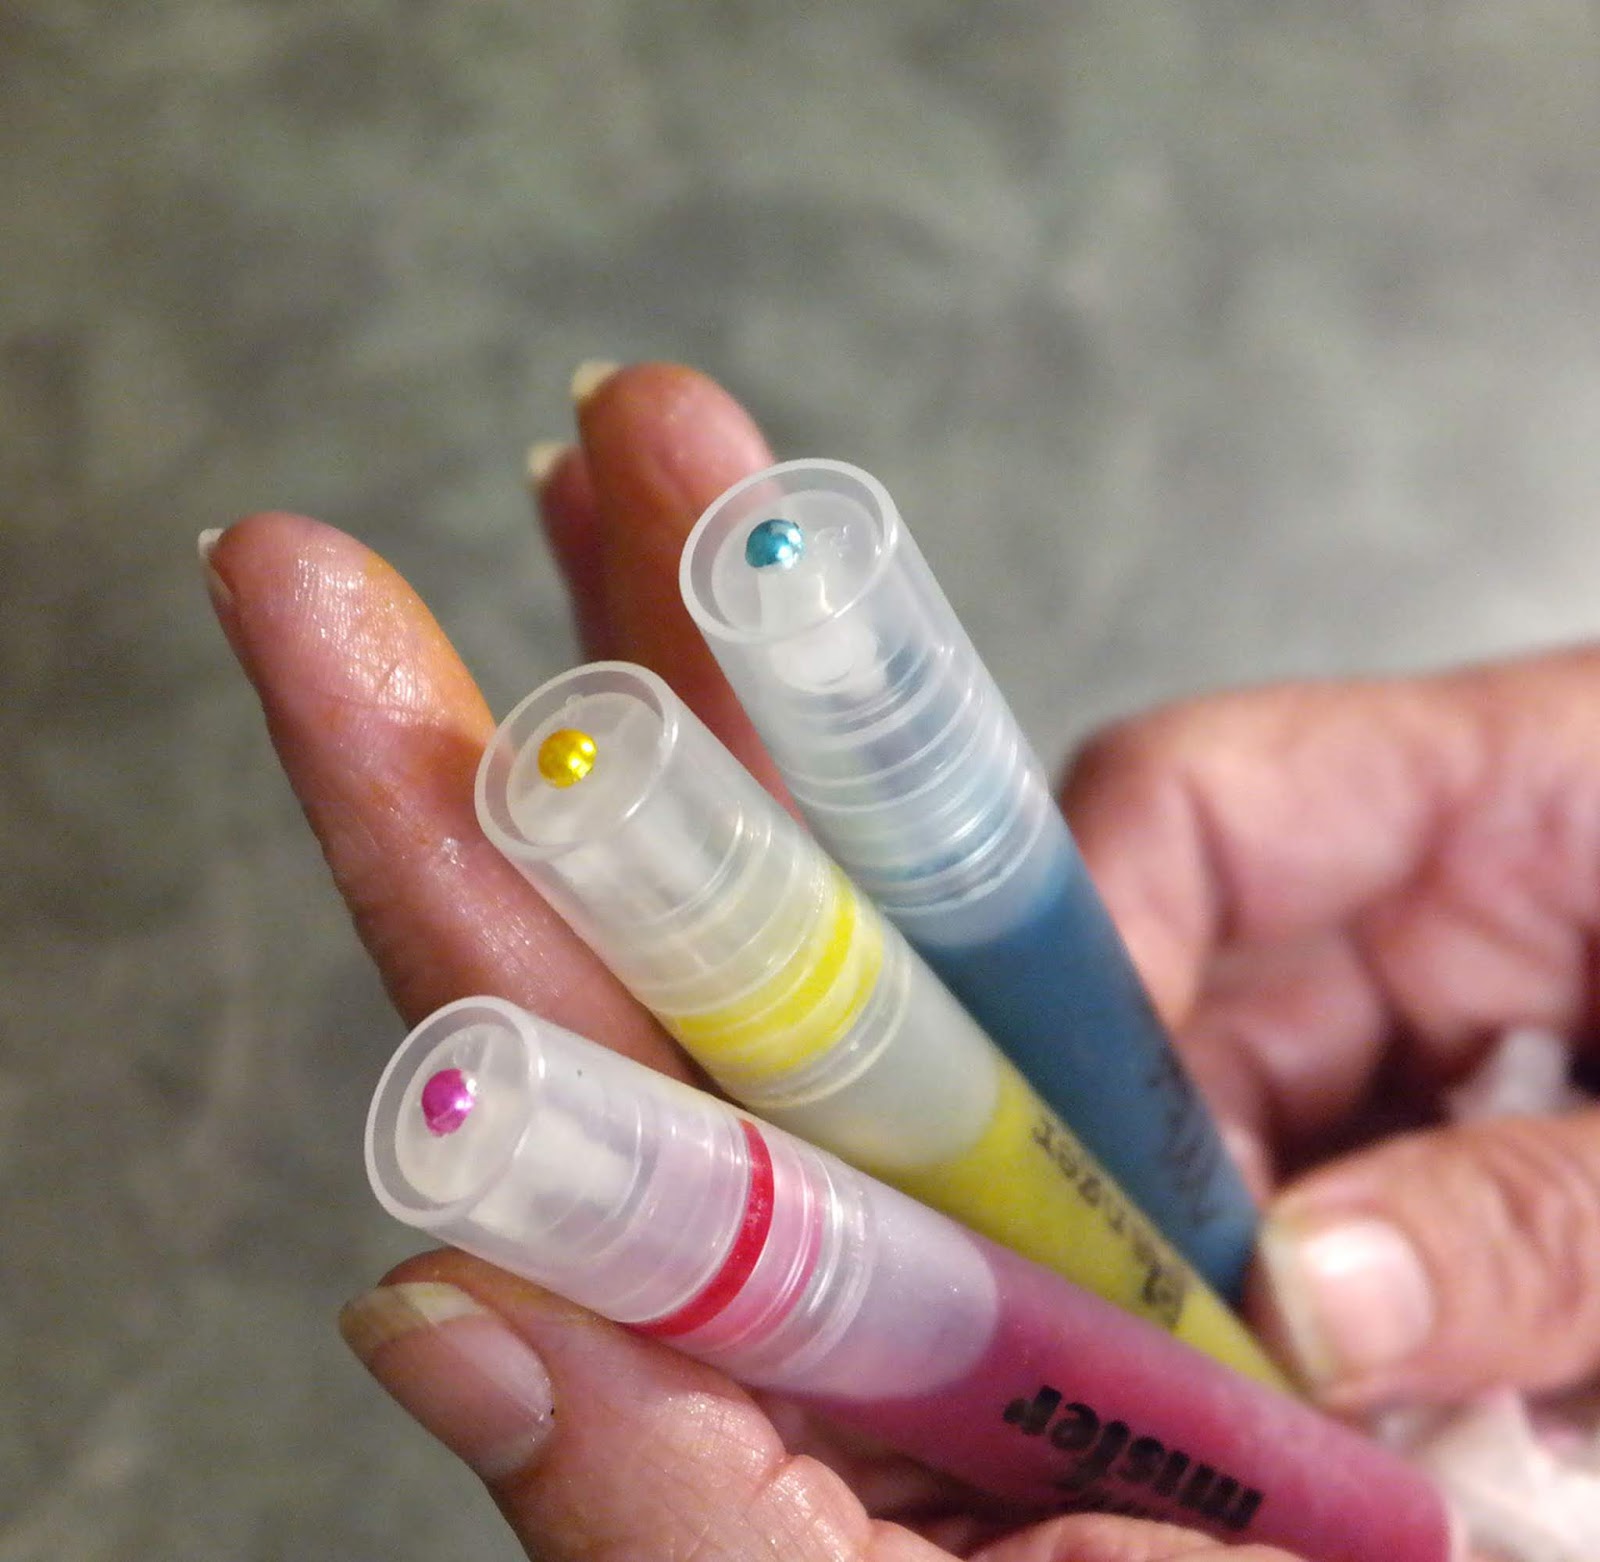
I thought I would color the floral images on this stamp with Zig Clean Color markers, and they worked great on most of these. They don't show up well on dark colors though. On the black watercolor cardstock, I decided to use Iuile Watercolors, which show up so well on black. I used the paint from one of the dot cards.


It's really hard to show how glittery these beautiful watercolors are in real life. The are also a bit opaque, so they don't blend in quite the same way as regular watercolor.


On the Strathmore Toned Blue Mixed media cardstock, I chose some of the Turquoise colors from the Zig markers.


I really love how this one turned out. 


For the Strathmore Toned Tan Mixed Media cardstock, I chose dark oranges and red.


These lighter colored Mixed Media cardstocks worked beautifully with the Zig markers


For the Tim Holtz watercolor cardstock, I chose reds, pink and purple. For all of these last 4 cards, I embossed with gold embossing powder.


The final version of this card is shown at the top of this post. I used regular cardstock, and therefore chose colored pencils rather than a watercolor medium.
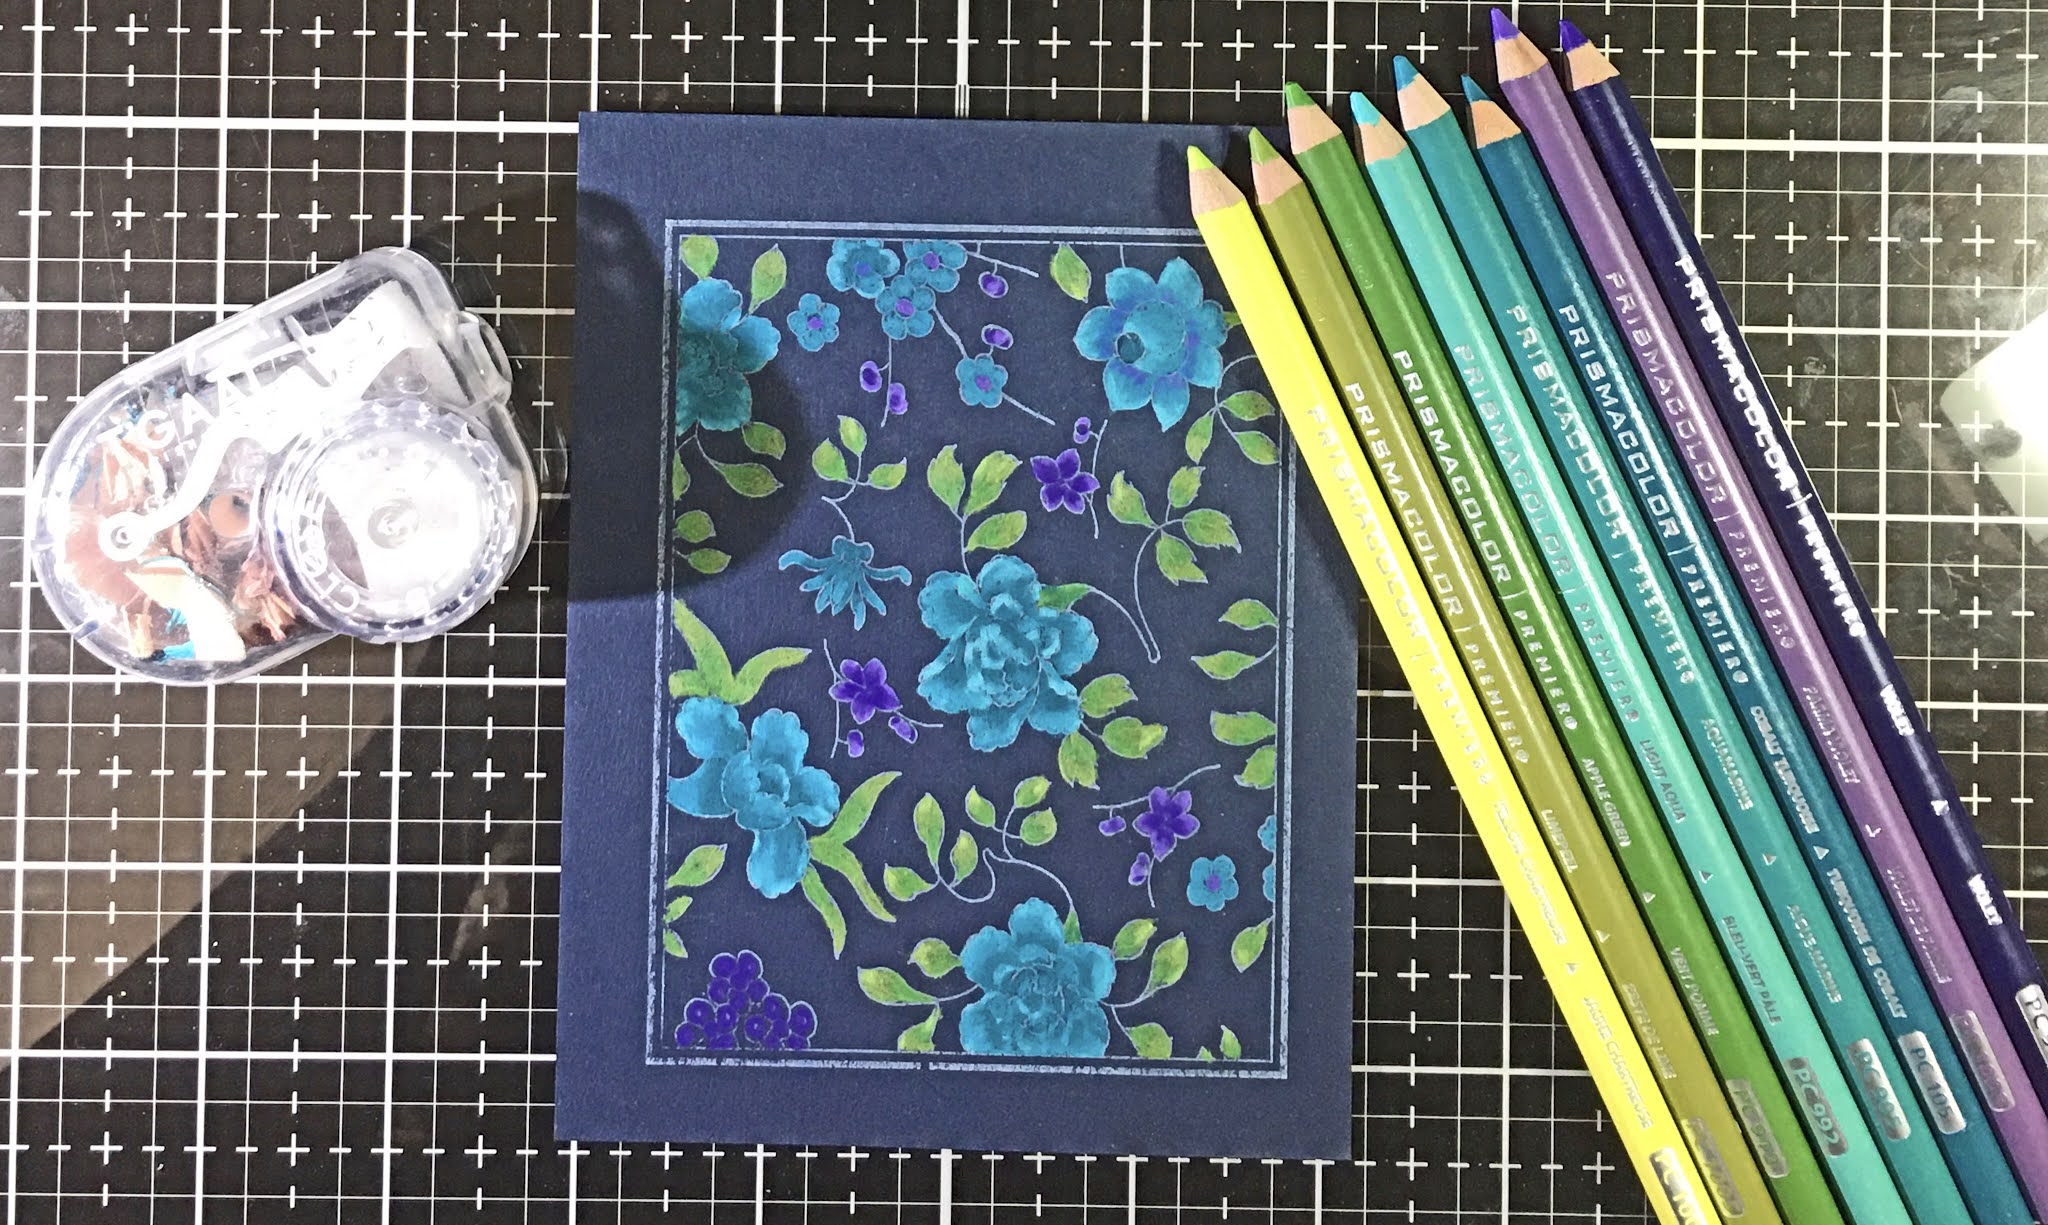

These are my favorite colors for this dark blue cardstock. This is how it looked before it was embossed.


This is how the panel that I colored with pencils looked after I put it back into my stamp platform and stamped over the coloring with Versamark ink. I embossed this one with JudiKins Silver Detail embossing powder. The card at the very top of this post was taken in brighter light and shows off the colors better.


Here are all of them with their chosen colors for matting. To finish the panels off with a sentiment, I added a Happy Birthday sentiment on vellum. I couldn't bear to cover up any of these pretty patterns. (And yes, I needed a bunch of birthday cards this month)  

The banners were die cut using a sweet little banner die which is included The Greetery Crimped Slimline die set. The Birthday stamp is from my cut up version of the Magenta Multilingual Happy Birthday stamp.


I promised to tell you the origin story of this stamp. This pattern came from a piece of china that belonged to Susie Tracy's mother. Susie is the former owner of Art 'n Soul, and a good friend of mine, and also of Helene, who owns Magenta. When Helene was visiting Susie one time, she took a photograph of the china, and voila! This beautiful stamp was born.

Magenta Products used:

Other Products used:

Blue Colored Pencil card:
Prismacolor Pencils: PC992 Aqua,
PC905 Aquamarine, PC105 Cobalt Turquoise
PC1008 Parma Violet, PC932 Violet, 
PC1004 Yellow Chartreuse, PC1005 Limepeel,
PC912 Apple Green
PTI Dark Indigo cardstock
DCWV Foiled Silver cardstock
Versamark ink
JudiKins Detail Silver embossing powder
The Greetery Crimped Frame die
The Greetery Crimped Slimline die set
Translucent Vellum

Iuile Watercolors on Black
Stonehenge Black Watercolor Cardstock
Curious Metallic Super Gold Cardstock
Versamark ink
Ranger Gold embossing powder
The Greetery Crimped Frame die
The Greetery Crimped Slimline die set
Translucent Vellum

Toned Blue Card with Zig Markers
Strathmore Toned Blue Mixed Media Cardstock
So Silk Glamour Green Cardstock
Zig Clean Color Markers used: 042 Turquoise Green,
033 Persian Green, 047 May Green,
050 Yellow, 084 Deep Violet
Versamark ink
Ranger Gold embossing powder
The Greetery Crimped Frame die
The Greetery Crimped Slimline die set
Translucent Vellum

Toned Tan Card with Zig Markers
Strathmore Toned Tan Mixed Media Cardstock
PTI Terracotta Tile Cardstock
Zig Clean Color Markers used: 047 May Green,
060 Brown, 070 Orange, 
029 Geranium Red, 023 Scarlet Red
Versamark ink
Ranger Gold embossing powder
The Greetery Crimped Frame die
The Greetery Crimped Slimline die set
Translucent Vellum

White Card with Zig Markers
Tim Holtz Watercolor Cardstock
PTI Pure Poppy Cardstock
Zig Clean Color Markers used: 047 May Green,
029 Geranium Red, 021 Light Carmine,
080 Violet
Versamark ink
Ranger Gold embossing powder
The Greetery Crimped Frame die
The Greetery Crimped Slimline die set
Translucent Vellum

Friday, November 6, 2020

Super Saturday at Magenta: Distress Blending & Masked Sentiment

Hi everyone! I'm over at the Magenta blog today, and you can see that post here. It's that time of year again to say Happy Birthday to my friend Fred from The Netherlands. Unfortunately I only have one stamp that says Happy Birthday in Dutch, so I pull it out every year, but I'm sure he doesn't mind. At least the card is always different.

To make this card, first I made a sample on a piece of typing paper cut to the size of the card I planned to make. I sometimes either do sketches, or actually stamp it out to see if my layout will work. I decided to stamp this one because I was using just 2 stamps, one large and one small for this project, and had to stamp and emboss them multiple times.


Masking off a space for the sentiment, I used my MISTI to help plan where the stamps would go. My plan was to use this as a map to help lay out the images on my card.

To prepare my panel, I first die cut it with the Greetery's Crimped Frame die. I then masked off a 1/2" strip, and blended Distress Ink in blues and purple onto the panel. I flicked a little water on the blending to make speckles.


Once the blending was done and dried, I put my panel into my MISTI and placed the sample paper over it. I then one by one put the stamps onto  the image on the paper, picked them up with the MISTI, and stamped them onto my cardstock with Versamark Ink. I did this with each image, stamping with Versamark ink each time. I had to place a little extra piece of paper in a couple of places where I didn't want stamping, to get the look I wanted. I also had to remove part of the mask to get stamping into the white area on either side of the sentiment. 

I embossed the images with gold embossing powder. Last, I removed the rest of the mask and stamped the sentiment. Honestly, in my mind it was much easier than it actually turned out to be, but it was well worth the trouble. Happy Birthday Fred! I hope you like your card!!

Magenta Products Used:

07.907.L Multilingual Happy Birthday

Other Products Used:
Distress Ink: Speckled Egg,
Salty Ocean, Wilted Violet
Versamark Ink
Ranger Gold Embossing Powder
The Greetery Crimped Frame die
Super Gold Curious Metallics cardstock
Neenah Solar White 80# & 110# cardstock
1/2" masking tape

Friday, June 12, 2020

Super Saturday at Magenta: Distress Ink Blending

I'm over at the Magenta blog today, and you can see that post here.

My go-to simple but beautiful card usually involves Distress Ink or Distress Oxide Ink blending. It's easy, fast, and always gorgeous. This sort of colorful background is always perfect paired with an amazing Magenta stamp, like the stunning English Garden set designed by Nathalie. The beautiful style of this set will work with any sort of card. I made a birthday card, but it would work for Thinking of You, Sympathy, Just a Note, or almost any occasion.


To make this card, I took a panel of white cardstock that was 4.25" x 5.5". If you have followed my blog for awhile, you may remember that my husband made a template for me to use that helps me mask off any desired size strip on my panel. You can see my post describing the process of using this template here. I made several of these panels, and you can see the template in use below.


Something I want to explain to you about this template.: it was printed on cardstock, and you are supposed to peel your panel and masks off of it before starting to blend your colors. It's pretty easy to do, and the masks stay on your panel very well. On one of my panels I forgot move it before blending, and you can see the colors that resulted on either side of my panel here, and on the left side the panel warped a little. I think it will be ok, and if not, I can easily make another one. I'm thinking next time I might apply shiny tape on all the inside edges, just in case I do this again.

Once my inks were blended (I used blending brushes this time instead of foam blending tools), I flicked a little water onto the colored part of my panel. I dip my fingers into the water and flick it off a bit back into the glass before moving my hand to the panel and flicking the water. Otherwise your speckles might be too large and not look as good.


My favorite part of this technique is peeling off the masking paper. Last, I stamped and embossed the sentiment. I have two of this great Multilingual stamp from Magenta, and I cut one of them apart so that I can use the different languages on their own. I sprinkles some gems and matted the panel with a coordinating color.


Here are the 4 panels I made. You can see in the upper right the one where I let a big splotch of water drop. I will still use it though! Stamping or a die cut can easily disguise that place so that it won't stand out so much.

Below I will show the other three combinations of colors I used to achieve these blends.


Next is the one with the big water splotch!


I really can't pick a favorite combination


I hope you will try this technique. Although blending with Oxides is pretty effortless, blending with the regular Distress ink is also very easy now, using these new blending brushes. You can get them pretty inexpensively these days at Amazon.

Magenta Products Used:

C Set 47 English Garden

07.907.L Multilingual Happy Birthday

Other Products Used:
Distress Inks: Picked Raspberry,
Peacock Feathers, Twisted Citron
Versamark Ink
Ranger Gold Embossing Powder
Lucy's Little Things Rainbow Jewels
So Silk Beauty Pink Cardstock
Neenah Solar White 80# & 110# Cardstock
Lawn Fawn LF768 Small Stitched Rectangle Stackables


Thursday, April 30, 2020

Throwback Thursday: Make Your Own Pearly Sprays With Distress Inkers

Some years ago, I did a post about making your own pearly sprays with Distress Inkers, water, and Perfect Pearls powder. This is still a great technique and you can see the post here. I pulled out my sprays recently to make a birthday card for a friend, and it was so fun that I plan to make lots more of this same kind of background.


For this card, I used a stencil from Magenta that came from a set called Zen Trio. 3 great stencils inspired by some Zentangle patterns that I drew up as examples. This one is my favorite.

I sprayed the back with Krylon repositionable adhesive, and stuck it down to a piece of Tim Holtz watercolor cardstock. I masked off the top and bottom and just sprayed lightly with 3 colors of the spray. In real life these colors are shimmery and very pretty. 


For the sentiment, I stamped the Happy Birthday on a piece of black cardstock with Versamark ink and embossed with white embossing powder. I attached it to the card, and added a few gems. I matted my panel and attached it to a base card.

Here, from my old post, are the 3 colors I used to spray with - my 3 favorite Distress colors: Picked Raspberry, Mustard Seed, and Peacock Feathers. Use my link above to pull up my previous blog post and see how I made them.


Also, about the sentiment. This is a favorite of mine. It comes from a Magenta stamp that has Happy Birthday written out in 7 languages, and this stamp was made at my request some time ago (yes Iceland is one of the languages). I still love this stamp and use it often. I purchased an extra one and cut it apart so that I can stamp the sentiments separately, in whichever language I want. Of course, it looks good all together too, but I've shown you lots of those (here's one)


Magenta Products used:

TM54 Zen Trio

07.907.L Multilingual Happy Birthday

Other Products used:
Distress re-inkers: Picked Raspberry;
Mustard Seed; Peacock Feathers
Ranger mini misters
Perfect Pearls powder
Tim Holtz watercolor cardstock
Krylon repositionable spray adhesive
masking tape
Black cardstock
Versamark ink
JudiKins opaque white embossing powder
Lucy's Little Things Rainbow Jewels
So Silk Beauty Pink cardstock

Friday, November 1, 2019

Magenta Super Saturday: Large Maple Stencil and Distress Ink Blending

Hi everyone, I'm over at the Magenta blog today! I love all of the new stencils from Magenta's 2019 Fall/Winter collection. If you have not had a chance to look through them, you can see them all here; and you can see the new stamps here.

I especially like the new large Maple stencil because you can stamp inside of it, and there are loads of possibilities. I have two cards for you today.


I love this first card for its simplicity and for its message. I cut a panel to 4" x 5.25" from Neenah Solar White 80# cardstock, using the stitched rectangle die from the DieNamics MFT463 Blueprints 13 die set.. I taped the Large Maple stencil to the panel, and blended 4 colors of Distress ink into the opening. For blending, I used the makeup brushes I have shown you before. I use these so much, and they blend like a dream (see photo below).

I stamped this beautiful sentiment onto the leaf using Versafine Onyx Black ink, and then flicked Peerless transparent gold watercolor all over (really, all over everything).

To finish the card, I mounted the panel onto a mat of Stardream Copper cardstock, and then onto a base card of Neenah Solar White 110# cardstock. This card literally took minutes to make, and you could stamp lots of messages and/or images onto this large Maple leaf.

I have a very dear Dutch friend who has a birthday in early November, and I thought this would make a great Fall birthday card.


I did the Distress ink blending the same way, and this time I stamped this beautiful Bold Leaf Flourish stamp (not part of the newest collection, but always available) with Versamark ink, and embossed it with gold embossing powder. If you do this, just make sure that the ink is dry before you stamp and emboss. You can test it first, by sprinkling embossing powder onto your inked panel. I did this and it wasn't dry, so I brushed off all of the powder, and dried it with a heat tool. I then tested it again; then stamped it with Versamark and embossed. This extra step will save you heartache.

For the sentiment, I used the Multilingual Happy Birthday stamp. I love this stamp, and I have used it quite often with all of the languages on it (you can see some of them here and here scroll down), but I also like to use them separately, so I bought an extra cling stamp and cut it apart. I use the cut apart one SO often.

I stamped the sentiment with Versafine Clair Summertime ink, and embossed it with clear embossing powder. 

To finish the card, I mounted the panel onto a mat of Stardream Flame cardstock, and then onto a base card of Neenah Solar White 110# cardstock. I added a few enamel dots.


Here are the brushes and inks I used to blend the color through the stencil. With a blending tool, it takes much longer because you have to start light so you don't have dark spots where you don't want them. With these brushes you do not have to do that. They blend even regular Distress like a dream.

This same card design would work very well in the Spring or Summer also; just use different colors of inks.

I hope you enjoyed these cards, and will give them a try!

Magenta Products used:
If you click on the links they will take you to these products in the Magenta online shop

TM323 Large Maple

07.1036 Good friends help you

14.661.L old Leaf Flourish

07.907.L Multilingual Happy Birthday

Other Products used:
Versafine Onyx Black ink
Distress inks: Mustard Seed,
Carved Pumpkin, Rusty Hinge, Barn Door
PPeerless Transparent Metallics Liquid Gold watercolor
Die-namics MFT463 Blueprints 13 die set
Stardream Copper cardstock
Neenah Solar White 80# & 110# cardstock
Versamark ink
Versafine Clair Summertime ink
JudiKins Detail embossing powder: Clear & Gold
Stardream Flame cardstock
Enamel dots


Thursday, March 29, 2018

Distress Oxide Blends: Using Your Leftover Pieces

Since I don't always use an entire panel of blended Oxide inks, I often have leftover pieces that I can use on other cards. I don't throw any scraps away! I love, love, love this card, because it uses a little leftover piece of blended Oxides, an older Magenta stamp that I love, and a Die-namics die that I have been meaning to use.


I cut a panel of white textured cardstock to 5" x 3.75", and used the Die-namics MFT-1113 Square Peek-a-Boo Window die to die cut an opening in the upper center of the panel.

I stamped the Magenta 14.591.H Ornamental Onion Blooms stamp onto a scrap of Distress Oxide blended cardstock using Versafine Onyx Black ink, and then cut it to size (slightly larger than the opening) using the Memory Box 30088 Square Basics die set. 

The Distress Oxide colors I used on this scrap were Peeled Paint, Cracked Pistachio, Broken China and Wilted Violet. I had spritzed the panel with water, and after putting some of the Broken China ink on my craft mat and spraying it with some water, I flicked it onto the panel with a brush. I used most of the rest of this particular colored panel on another card, but I feel like the way the colors and spots ended up on this square look like they were put there just for this card. I'm really happy with how it turned out.

I will tell you now, that mounting that colored, stamped square to center in the opening is not easy, and I still didn't get it perfectly centered. Next time I would adhere the colored square to the back of the white panel so that it shows through the opening, and THEN stamp it in the center, using a stamping tool. I think that would be much easier.

I stamped a Magenta Happy Birthday sentiment just underneath the square opening, using Versafine Onyx black ink. This stamp is the Multilingual Happy Birthday stamp, but I am using just the English sentiment for this card.

I matted the white panel with Stardream Fairway cardstock, and mounted the entire panel onto Neenah Solar White 110# cardstock.

If you have not had a chance to look at my Distress Oxide Overview post, you can see it here. 
If you would like to purchase any of the Magenta stamps used here, you can click on the links below the images to go to the Magenta online store.

Products Used:

Magenta 14.591.H Ornamental Onion Blooms
Magenta Multilingual Happy Birthday 07.907.L
Die-namics MFT-1113 Square Peek-a-Boo Window
Memory Box 30088 Square Basics die set
Distress Oxide inks: Peeled Paint, Cracked Pistachio,
Broken China, Wilted Violet
Versafine Onyx Black ink
Stardream Fairway cardstock
Core'dinations 80# White Canvas cardstock
Neenah Solar White 110# cardstock

Friday, July 1, 2016

Technique of the Week: Distress Crayon Stenciling


Recently I've been playing with my Distress Crayons and I like the idea of using them with stencils. This technique is actually from Sally Penley, who is a recent, and very popular teacher at Art 'n Soul. When Sally was at ANS to teach a Pastel Dusting class, I asked her if she would mind trying out a similar technique that she was doing with her pastels, and try it with the Distress crayons. What she did was amazing, and honestly, I'm not sure if I did it justice,, but I do like what I ended up with.


Here is what Sally made. She just dashed this off during the class, that's how good she is. When we schedule more classes with Sally, be sure to sign up!

By Sally Penley

For my card, I used the Magenta tulip stencil TM150, the Magenta stamp 07.907.L Multilingual Happy Birthday, Magenta MNU-015 Red Nuance. The crayons I used were Peeled Paint and Festive Berries. To cut my panel, I used Lawn Fawn die LF788 Small Stitched Rectangles and cut it out of Tim Holtz watercolor paper. The largest die in this set will cut a panel 3.75" x 5", which is a perfect size for matting. Watercolor paper is not required for this technique, but I like the texture of it. To cut the strip for the sentiment, I used MFT Die 463 Blueprints 13 which I will show later.

I taped my panel down to my work surface, and taped the Magenta stencil in place over it, using painter's tape. 


I used the Distress crayons to color onto the stencil and panel both.


I used my finger to pull the color into the open areas of the panel. Sally's favorite tool for this would be a Viva paper towel, but since I didn't have one, I resorted to using my fingers.


If you try this, only work a small area at a time, and try not to get very big blobs of the crayon on your stencil or card. 


After pulling Festive Berries color into all the petal areas of the tulip, I used the Peeled Paint to color the leaves and stems. I then colored the petals and leaves with clear Wink of Stella glitter pen. I did spend a little time cleaning up edges at this point, and the Wink of Stella pen helped soften some areas.


I decided I wanted speckles over the top, so I mixed some Red Nuance with pearly water, and flicked it over the card.


To finish, I cut a small piece of black cardstock using one of the small dies from Blueprints 13 from MFT. I love this set because it has a die that will cut a stitched panel that is 4 x 5.25, which is the perfect mat size. For this card, I used the strip on the lower right in the photo.


The die was actually a little longer than I wanted, so I measured the sentiment, and pulled one end of the strip past the edge of the die and cut it again, ending up with a deckled edge on each end of my shortened strip.  This photo shows my stamp on top of the paper, and how I pulled the paper over in the die to shorten it. No, I did not leave my stamp on top when I die cut; this was just for measuring purposes. (Yes, I did cut up my Multilingual Happy birthday set, so that I could have each language separately. I DO have another uncut stamp though!)

I stamped the sentiment onto the black strip with Versamark ink, using my mini MISTI tool. I embossed it with JudiKins White Diamond embossing powder, and added an exclamation mark with a white gel pen. The sentiment was popped up with foam tape, and the panel was matted with Stardream Jupiter cardstock. I scattered a few sequins on the finished card.

I hope you try this technique. I found it easy and really fun to do.

Magenta Products Used:
(If you are local, please look for products at Art 'n Soul. If you are not local and wish to find Magenta products, you can click on the link in the stamp name below each image, or you can visit the Magenta online store here).

TM-150 Tulip Stencil

07.907.L Multilingual Happy Birthday

Nuance MNU-015 Red

Other Products Used:
Distress Crayons: Peeled Paint & Festive Berries
Lawn Fawn die LF788 Small Stitched Rectangles
MFT Die-Namics 463 Blueprints 13
JudiKins White Diamond embossing powder
Uniball Broad White Gel Pen
Tim Holtz Watercolor cardstock
Stardream Jupiper Cardstock
Various Sequins