Pages

Wednesday, December 16, 2020

Die Cut Christmas: Ornament Trio and Gelli Plate Background with Distress Oxide

 This is the last of the cards I have that I made using just die cuts. I wanted to cut out all of the Christmas dies that I had not had a chance to use before.


I die cut the ornaments out of a white panel that I die cut using a stitched rectangle die from Die-Namics. I placed the die cut panel onto a background that I made when I was playing around with a Gelli Plate and Distress Oxide inks. This panel was made using Festive Berries Distress Oxide ink that I brayered onto the Gelli Plate. I picked up the color with a textured piece of white cardstock, and it made a nice textured print.

I added a sentiment made with a Memory Box die that I cut from PTI Pure Poppy cardstock. At the end I added tiny red gems.

Products Used:
Poppystamps 1270 Ornament Trio Cutout
Memory Box 94499 Special Merry Christmas
Die-namics MFT-463 Blueprints 13 die set
Distress Oxide ink Festive Berries
PTI Pure Poppy cardstock
Neenah Solar White 80# & 110# cardstock
White Textured 65# cardstock
Gelli Plate


Sunday, December 13, 2020

Die Cut Christmas: Shaving Cream Peace

 I have just a couple of cards left that I made by making die cuts with Christmas dies that I had not yet used.


I used the larger snowflake from the Elizabeth Craft die set Ornate Snowflakes, and cut it out of a white panel that I had already cut with the Greetery's Crimped Edge due. I put the white panel over a blue and white background panel that I made using the shaving cream technique. You can see instructions on that technique here, and creating the blue and white panels here.

I die cut the sentiment from an Elizabeth Craft set Love Joy & Peace Christmas Ornament. I used a dark blue cardstock for the sentiment. Last, I added silver snowflakes, and glitter dots from Elizabeth Craft peel offs.

Products Used:
Elizabeth Craft 1409 Ornate Snowflakes
Elizabeth Craft 1442 Love Joy & Peace Christmas Ornament
Elizabeth Craft Peel Off Stickers 8530 Silver/Silver Snowflakes
Elizabeth Craft Peel Off Stickers 7018 Glitter,Silver/Gold Dots
The Greetery Crimped Frame die
Distress inkers Broken China, Faded Jeans,
Speckled Egg
Shaving Cream (generic)
PTI Enchanted Evening cardstock
Neenah Solar White 80# & 110# cardstock


Wednesday, December 9, 2020

Magenta Card Exchange: Distress Ink Blend Merry Christmas!

I was very happy to get Kazuko Kocho's name in the December Magenta card exchange. She is someone whose art I have long admired, and she was also a friend of Art 'n Soul for many years.


 I started by blending 4 colors of Distress Ink reds, making it darkest in the middle, and light on both ends. I used watercolor cardstock because I planned to get it very wet. 


Once my panel had dried, I stamped the beautiful Magenta stamp Poinsettia Border in Versamark ink, and embossed in gold. If you are going to emboss on an ink blended background, be sure it's dry first. I usually test it out by applying embossing powder onto the panel before I stamp, just to make sure nothing sticks.

I got out my cut up Magenta Merry Christmas Multilingual stamp for the sentiment. I wanted to stamp it in English and Japanese. If you follow me, you know that I have several of this stamp in cling, and I have cut one of them up so that I can stamp in individual languages that I choose. They work perfectly well this way.

 
After embossing the images, I used a brush and water to blot up the ink inside the flower petals to lighten and highlight them. I applied water inside each petal, and blotted it up with a paper towel. I then flicked gold watercolor all over the panel.


At the end I applied Wink of Stella glitter pen to each petal. The panel was cut using The Greetery Crimped Edge die, and it was matted with gold cardstock. I love how it turned out! I hope you do too.

Magenta Products Used:

Other Products Used:
Distress Ink: Spun Sugar,
Picked Raspberry, Festive Berries,
Candied Apple
FineTec Gold Watercolor
Wink of Stella glitter pen
The Greetery Crimped Frame die
Tim Holtz Watercolor paper
Curious Metallics Super Gold cardstock
Versamark Ink
Ranger Gold Embossing Powder


Friday, December 4, 2020

Super Saturday at Magenta: Swirly Blossom Poinsettia with Prismacolors

 Hi everyone! I'm over at Magenta today, and you can see that post here.

I've been having a lot of fun with the Swirly Blossom Poinsettia stamp, which I've been coloring with Prismacolor pencils in some of my favorite blends.


I started out by cutting some of my favorite cardstocks for coloring using The Greetery Crimped Frame die. The one above is Strathmore Blue Tone Mixed Media.

I stamped all of the cards with the Poinsettia image using my MISTI stamp platform.


Leaving the stamp in the MISTI, I took all of these panels and colored them with my favorite Prismacolor combinations of blends. 


Since I knew I was going to emboss over these, I was just trying to get some nice color blends laid down under the embossing.


After coloring, I stamped over each panel with Versamark ink and embossed in gold or silver, depending on the colors. It's very important to add powder to the panel before you stamp and emboss, since embossing powder really likes to adhere to colored pencil.


I added a sentiment to each card at the same time, using the same color of embossing as the flower. The above card was done on PTI Enchanted Evening cardstock.


I added gems to some of the flowers, which are very sparkly in real life. This card was done on PTI Pure Poppy Cardstock.


This card was done using Strathmore Tan Tone Mixed Media cardstock


The above card was again PTI Enchanted Evening cardstock. I really like this dark blue with the turquoise blends.

I even did one on a green shaving cream technique panel. I didn't take an individual picture of it, but you can see it in some of the group pictures above. You can also see that technique tutorial here. The post where I made the green ones is here. The Prismacolor choices on that one would also be good on white.

I'll list the colors I used on each color of cardstock, in case you are interested. I hope you like these! I'm getting close to having enough Christmas cards I think.

Magenta Products Used:

0445.O Swirly Blossom Poinsettia

07.995.E Joyeux Noël

07.956.F John Lennon Peace Quote

07.1019.F Wishing you Peace Love Joy

Other Products Used:
Prismacolor Colored Pencils:
For Blue Tone cardstock: PC901 Indigo Blue,
PC902 Ultramarine, PC1087 Powder Blue
For Dark Blue cardstock: PC105 Cobalt Turquoise,
PC905 Aquamarine, PC992 Light Aqua
For Tan Tone cardstock: PC924 Crimson Red,
PC925 Crimson Lake, PC1014 Deco Pink
For Red cardstock: PC923 Scarlet Lake,
PC926 Carmine Red, PC929 Pink, PC927 Lt Peach
On Green and White Shaving Cream cardstock:
PC924 Crimson Red, PC923 Scarlet Lake,
PC1014 Deco Pink
The Greetery Crimped Edge die
Strathmore Blue Tone Mixed Media
Strathmore Tan Tone Mixed Media
PTI Pure Poppy Cardstock
PTI Enchanted Evening Cardstock
Versamark Ink
Ranger Gold embossing powder
Ranger Liquid Platinum embossing powder


Tuesday, December 1, 2020

Winter Florals With Marker Watercolor Technique

 This is one of my favorite cards this year. I learned this technique from a video by Kristina Werner. You can see her video here. I have to say that it's a bit harder than it looks, but still it was very fun. Kristina used Karin markers, but I don't have those, so I used Tombows. I have it on good authority that I might be getting Karin markers for Christmas.


I really like that the colors are a bit non-traditional for Christmas. I keep coloring my poinsettias all in pretty much the same red, and have been wanting to try something different.


I cut 6 panels of Bristol cardstock to 4.25" x 5.5", and stamped the Simon Says Stamp Winter Florals using Versamark ink. I embossed the images with gold embossing powder. After taping the panels to some boards, I scribbled Tombow markers in different areas of the stamped panels. I used a #10 paintbrush loaded with water to move the scribbles around and smooth them out. The panel on the left shows how I scribbled color onto it, and the panel on the right is after I applied water. 


This is what the panels look like after I applied water to the scribbles.


Once all of the panels were dry, I went back with the markers, and colored each flower, leaf and berry. I was putting down color over the lighter colors underneath. I added the color where I wanted it to be the darkest, and used a brush to draw the color out.


These are all of the panels after I added the final color. Once the panels were dry, I cut them to 4" x 5.25", and then cut them in half, so that I had 12 panels that were 2" x 5.25".


I stamped 12 base cards with the lovely Merry Christmas stamp by Sally Penley from Magenta. I used Versamark ink and embossed the sentiment in gold. I matted each panel with gold cardstock and adhered them to the base cards.


I hope you like them! I want to try this technique again. It needs to be just the right background stamp; one that has images with some background.

Products Used:
Simon Says Stamp SSS102023 Winter Floral Mix
Tombow Markers: 676, 685, 725, 845, 946, 
055, 126, 133, 173, 195, 373
Versamark Ink
Gold Embossing Powder
Bristol cardstock
Curious Metallics Super Gold cardstock
Neenah Solar White 110# cardstock


Sunday, November 29, 2020

Die Cut Christmas: Mod Poinsettia Merry Christmas

 As part of my plan to try out all my dies, I thought it would be fun to use the Memory Box Diagonal Stripe Collage die in a way that would make me think of a candy cane.


I first cut a white panel out using the Greetery Crimped Frame die, and then used the Memory Box 94401 Diagonal Stripe Collage die at the bottom.

I added a Memory Box Mod Poinsettia that I cut out of a shaving cream panel that I had made with both red and green inkers.


These are the red ones I made. I didn't photograph the ones where I added green, because I didn't think I liked them; but probably die cutting the Mod Poinsettia out of those panels was a good use of them. If you have not already seen it, you can see how to do the shaving cream technique here.

The Merry Christmas sentiment is from Paper Rose, and I cut it out of Stardream Jupiter cardstock. The panel was also matted with Jupiter cardstock. I put one little gem in the center of the Poinsettia.

Products Used:
Memory Box 94401 Diagonal Stripe Collage
Poppy Stamps 2086 Mod Poinsettias
Paper Rose 17823 Merry Christmas Text die
The Greetery Crimped Frame die
Distress inkers: Mowed Lawn,
Twisted Citron, Festive Berries
Shaving Cream
Stardream Jupiter cardstock
Neenah Solar White 80# & 110# cardstock


Friday, November 27, 2020

Die Cut Christmas: Peace on Earth

 I got this great die from Elizabeth Craft that pretty much covers a regular sized card panel. This peace message is my favorite for this year. I'm not always feeling holly jolly these days.


I die cut the sentiment and stars out of a dark blue cardstock. This die set also comes with a separate die that cuts out more stars. I adhered the die cuts to a panel that I had previously made using the shaving cream technique. You can see how this is done here. When I used blue inkers, I had a large pile of backgrounds. These were made using Distress inkers in Broken China, Faded Jeans and Speckled Egg. For this particular panel I used a Magenta stencil TM213 Wreath of Circles.


I still have lots of these left and I plan to use them!

To finish the card, I cut the panel using The Greetery Crimped Edge die. For some extra sparkle, I colored the stars using a Wink of Stalla glitter pen. I matted the panel with the same dark blue cardstock. This cards would be perfect for mass production.

Products used:
Elizabeth Craft 1715 Peace on Earth die
The Greetery Crimped Frame die
Distress inkers: Broken China,
Faded Jeans, Speckled Egg
Shaving cream
Wink of Stella glitter pen, clear
PTI Enchanted Evening cardstock
Neenah Solar White 110#


Monday, November 23, 2020

Merry Christmas - Gledileg Jól

 I have really been enjoying listening to audio books and podcasts and coloring in the evenings, and I decided this would be a great way to get some of my Christmas cards done. It doesn't matter that it takes 2 hours to do one because I'm just enjoying myself.


This card was made with a new stamp by Simon Says Stamp, Center Cut Holiday Floral. I didn't use the center of the stamp so that I could put other sentiments there. Five of the ten cards I made will go to my relatives in Iceland. I was able to do this sentiment by cutting up a Magenta stamp, Multilingual Merry Christmas. (I have three of these stamps in cling, so I don't mind cutting one up; it makes them more versatile).


I started by stamping 10 panels of Neenah Solar White 80# cardstock with Memento London Fog ink, which is a light grey/green ink. I started coloring the images with Prismacolor pencils.


These are the colors of pencils I used, and I use a hand sharpener, so that I can regulate the pencil sharpness that I want.


There are a lot of layers of color on these, and the first one took 3 hours to color. At the end, I did the last two in just 3 hours, so I found that as I did more of these, I figured out how much of each color should go down in all the places. Again, I was listening to audio books and podcasts during this time, so the time was going to pass regardless. I might as well be doing something fun at the same time.


Once they were all colored, I went back and stamped them with Versamark ink. I had left the stamp in my MISTI, so the stamping was in the exact right place. I then embossed them with gold embossing powder, which brought a sparkle and shine that I love.


Here are some of the different versions that I made. I cut the inner circles with a Die-Namics Pierced Circle Stax die. That circle was matted with gold using a die from the Hero Arts Infinity Nesting Circles. I couldn't decide on a color for the sentiment, but in the end, I think I liked red the best. I used Distress Oxides in Festive Berries and Mowed Lawn, and embossed in clear. For the gold one I stamped in Versamark and embossed in gold.

The Merry Christmas sentiment is from The Greetery. I love their Sentiment Suite Christmas set. At the end, I cut the panels with The Greetery's Crimped Edge die, and matted them with the same gold that the circle is matted with.

I worked one of my pencils down to practically a nub. I use extenders on them to make them last as long as possible. I love this!


I hope the recipients will enjoy these cards as much as I enjoyed making them.

Products Used:
Simon Says Stamp Center Cut Holiday Floral SSS 102178
Magenta Multilingual Merry Christmas 07.883.K
The Greetery Sentiment Suite: Christmas 
Die-Namics MFT Pierced Circle Stax
Hero Arts Infinity Nesting Circle Dies DI199
Prismacolor Pencils: PC928 Blush Pink,
PC926 Carmine Red, PC924 Crimson Red
PC1029 Mahogany Red, PC942 Yellow Ocre,
PC1032 Pumpkin Orange, PC1034 Goldenrod
PC1004 Yellow Chartreuse, PC1005 Limepeel,
PC912 Apple Green, PC911 Olive Green,
PC1006 Parrot Green
Versamark ink
Memento London Fog ink
Distress Oxide ink: Festive Berries, Mowed Lawn
Ranger Gold embossing powder
JudiKins detail clear embossing powder
Curious Metallics Super Gold cardstock
Neenah Solar White 80# & 110# cardstock


Tuesday, November 17, 2020

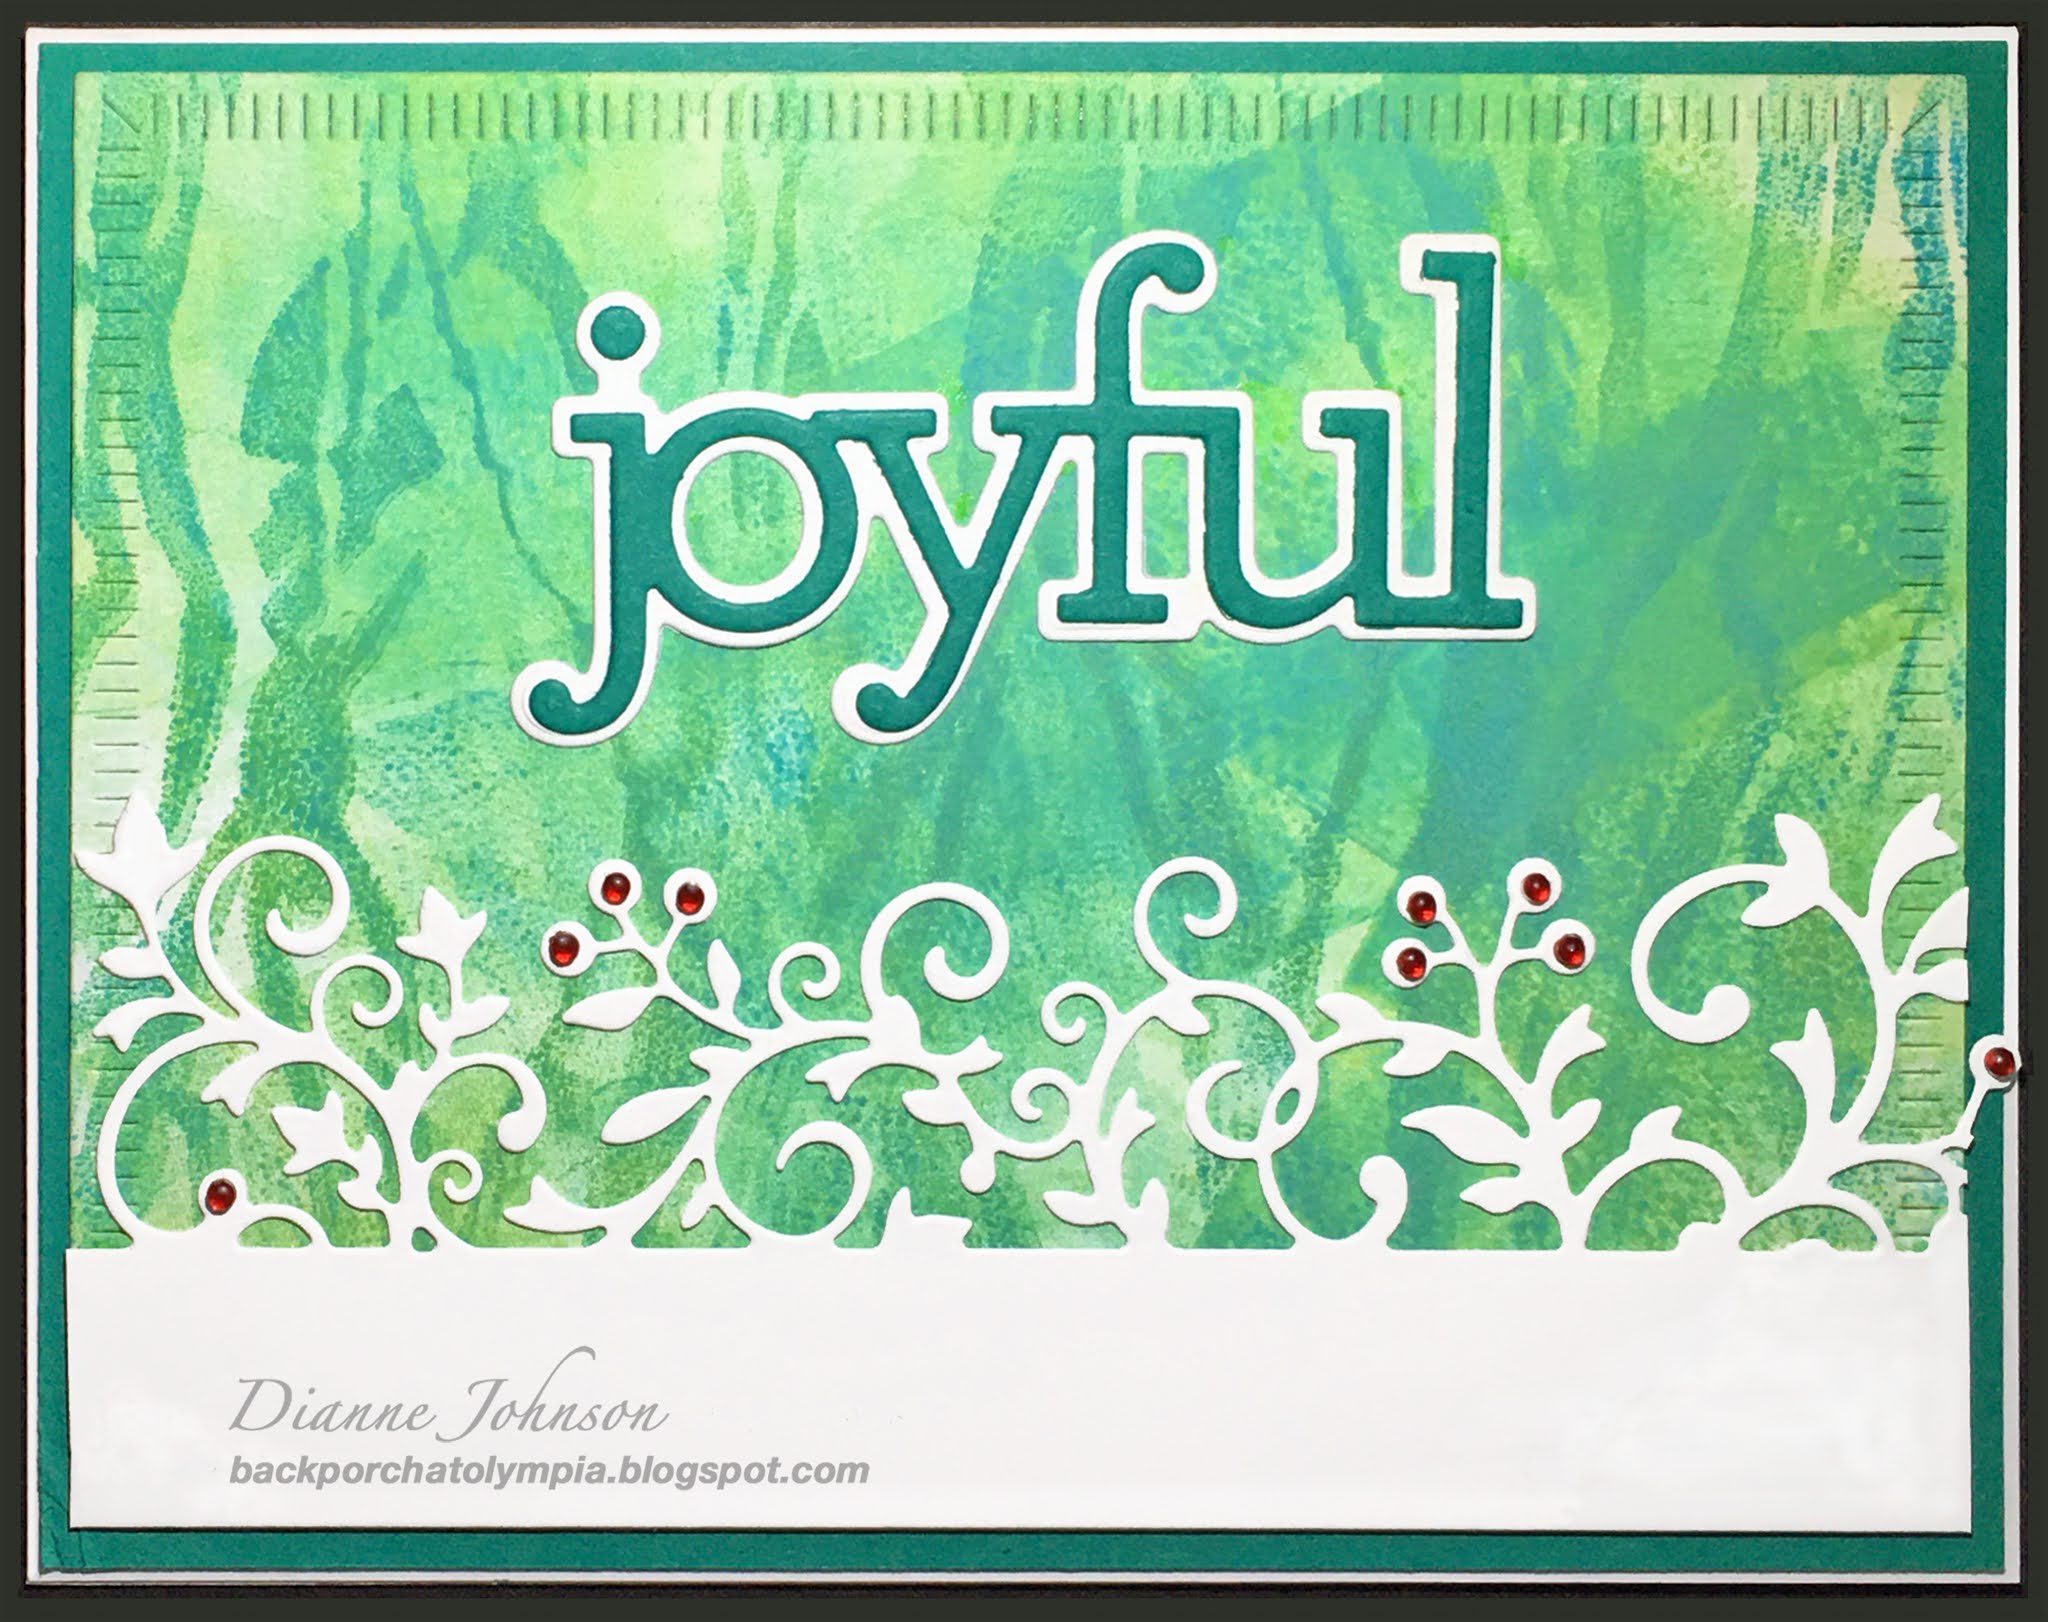
Die Cut Christmas: Joyful

 I got this "joyful" die from Simon Says Stamp a while back. I really like it, but didn't have a chance to use it last Christmas. Although I'm not sure how joyful this year has been for many of us, I am trying to find the joy in things, and to remain grateful.


I like that the "joyful" die has a background piece as well, so that it can be set apart from the background and it shows up better. I paired it with a great Hero Arts die called "Holiday Greenery Edge." There is also a snowflake version of this Hero Arts edger die and I will try to use it for my Christmas cards this year as well.

The background was made during a session with my Gelli Plate and Distress Oxide inks, when I made lots of great backgrounds in different colors, and with different textures. This one was made using a brayer that came with a rubber band texture. You can do the same thing by putting rubber bands on your regular brayer. When I first took this off the plate I wasn't sure I would find something to use it for; however, I think in this card the darker shapes look a bit like streamers.

I die cut the panel using The Greetery Crimped Frame die, and added the Hero Arts die that was cut from white at the bottom with some gems. The "joyful" die was cut from teal cardstock, and its background from white.

I will definitely use these dies more, hopefully this year!

Products Used:
Simon Says Stamp CZD72 Joyful
Hero Arts DI532 Holiday Greenery Edge
The Greetery Crimped Frame die
PTI Tropical Teal cardstock
Neenah Solar White 80# & 110# cardstock


Sunday, November 15, 2020

Die Cut Christmas: Let it Snow

Some of the Christmas cards I've made this year have been done almost exclusively with die cuts, and the latest ones were made with the Let It Snow Frame die from Poppy Stamps. This is one of those dies that you can mix and match the inside pieces and outside pieces. I'll show you a few cards I made with this die. I also think it would be pretty with a photo of a nice snow scene in it.


This one might be my favorite of the three. I cut the Let It Snow die out of one of my panels made with shaving cream and inkers. You can see that technique here, here, here and here. This is a perfect background for this die. All of the panels were cut out with The Greetery Crimped Frame die, and then the Let It Snow die was cut by centering it in those panels. 

I cut a square of dark blue cardstock to go behind the sentiment. I used a die from Simon Says Stamp (Sparkling Snowflakes Breeze) on the dark blue panel, and put silver glitter paper behind the openings in the die. That only covered from the lower left to the upper right of the square, so I cut lots of circles (and even a couple of stars) out of the glitter paper with some punches, and glued them all down. I also added some white dots with a gel pen. 

In the next two cards, I made use of all of the pieces.


In these two cards, I used the dark blue square as the center of one and the Oxide glaze piece as center in the other. The squares are actually inlaid into the cards

The inked panel was made with Distress Oxides, using the Oxide Glaze technique on glossy caardstock. You can see this technique here, here, here and here.

On the above card, I used The Greetery Snowflake Corners dies for the corners and the snowflake. I added glitter dots from Elizabeth Craft.


In the card above, I added snowflakes cut from white cardstock and blue mirror cardstock. I used snowflake dies from Elizabeth Craft, Impression Obsession and The Greetery.

Yes, I used a lot of dies for these cards, but if you read my blog post here, where I was contemplating all of the dies I have not used, I am trying to see how well they all can be used together. I admit that my favorite cards are a combination of stamping with coloring or painting and a die cut or two; but in going through all of my dies and trying them out, I put together quite a few cards that have no stamping or coloring. They do however have interesting techniques done in the backgrounds, so if you have not seen those posts, please check them out using the links provided.

There will be more of these die cut Christmas cards coming, so please keep following. I hope you like them!

Products Used

All 3 cards:
Poppy Stamps Let It Snow Frame die 1880
The Greetery Crimped Frame die
PTI Enchanted Evening cardstock
Neenah Solar White cardstock 110#

Card #1:
Simon Says Stamp S528 Sparkling Snowflakes Breeze die
Silver glitter paper
Hole punches: 1/8", 1/4", Fiskars star punch
White gel pen
Background panel made with shaving cream and
Distress inkers: Broken China,
Faded Jeans and Speckled Egg 
(see links above for directions)

Card #2:
The Greetery Frosty Corners Dies GD-M-027
Elizabeth Craft glitter dots
For the background panel, please see above
links for directions

Card #3
Elizabeth Craft 1409 Ornate Snowflakes
Elizabeth Craft glitter dots
Elizabeth Craft silver snowflake peel-offs
Impression Obsession die 100-F Small Snowflake Set
Memory Box blue mirror cardstock